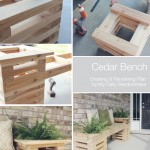
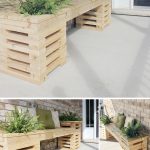
Summer DIY Challenge with The Home Depot // The Build

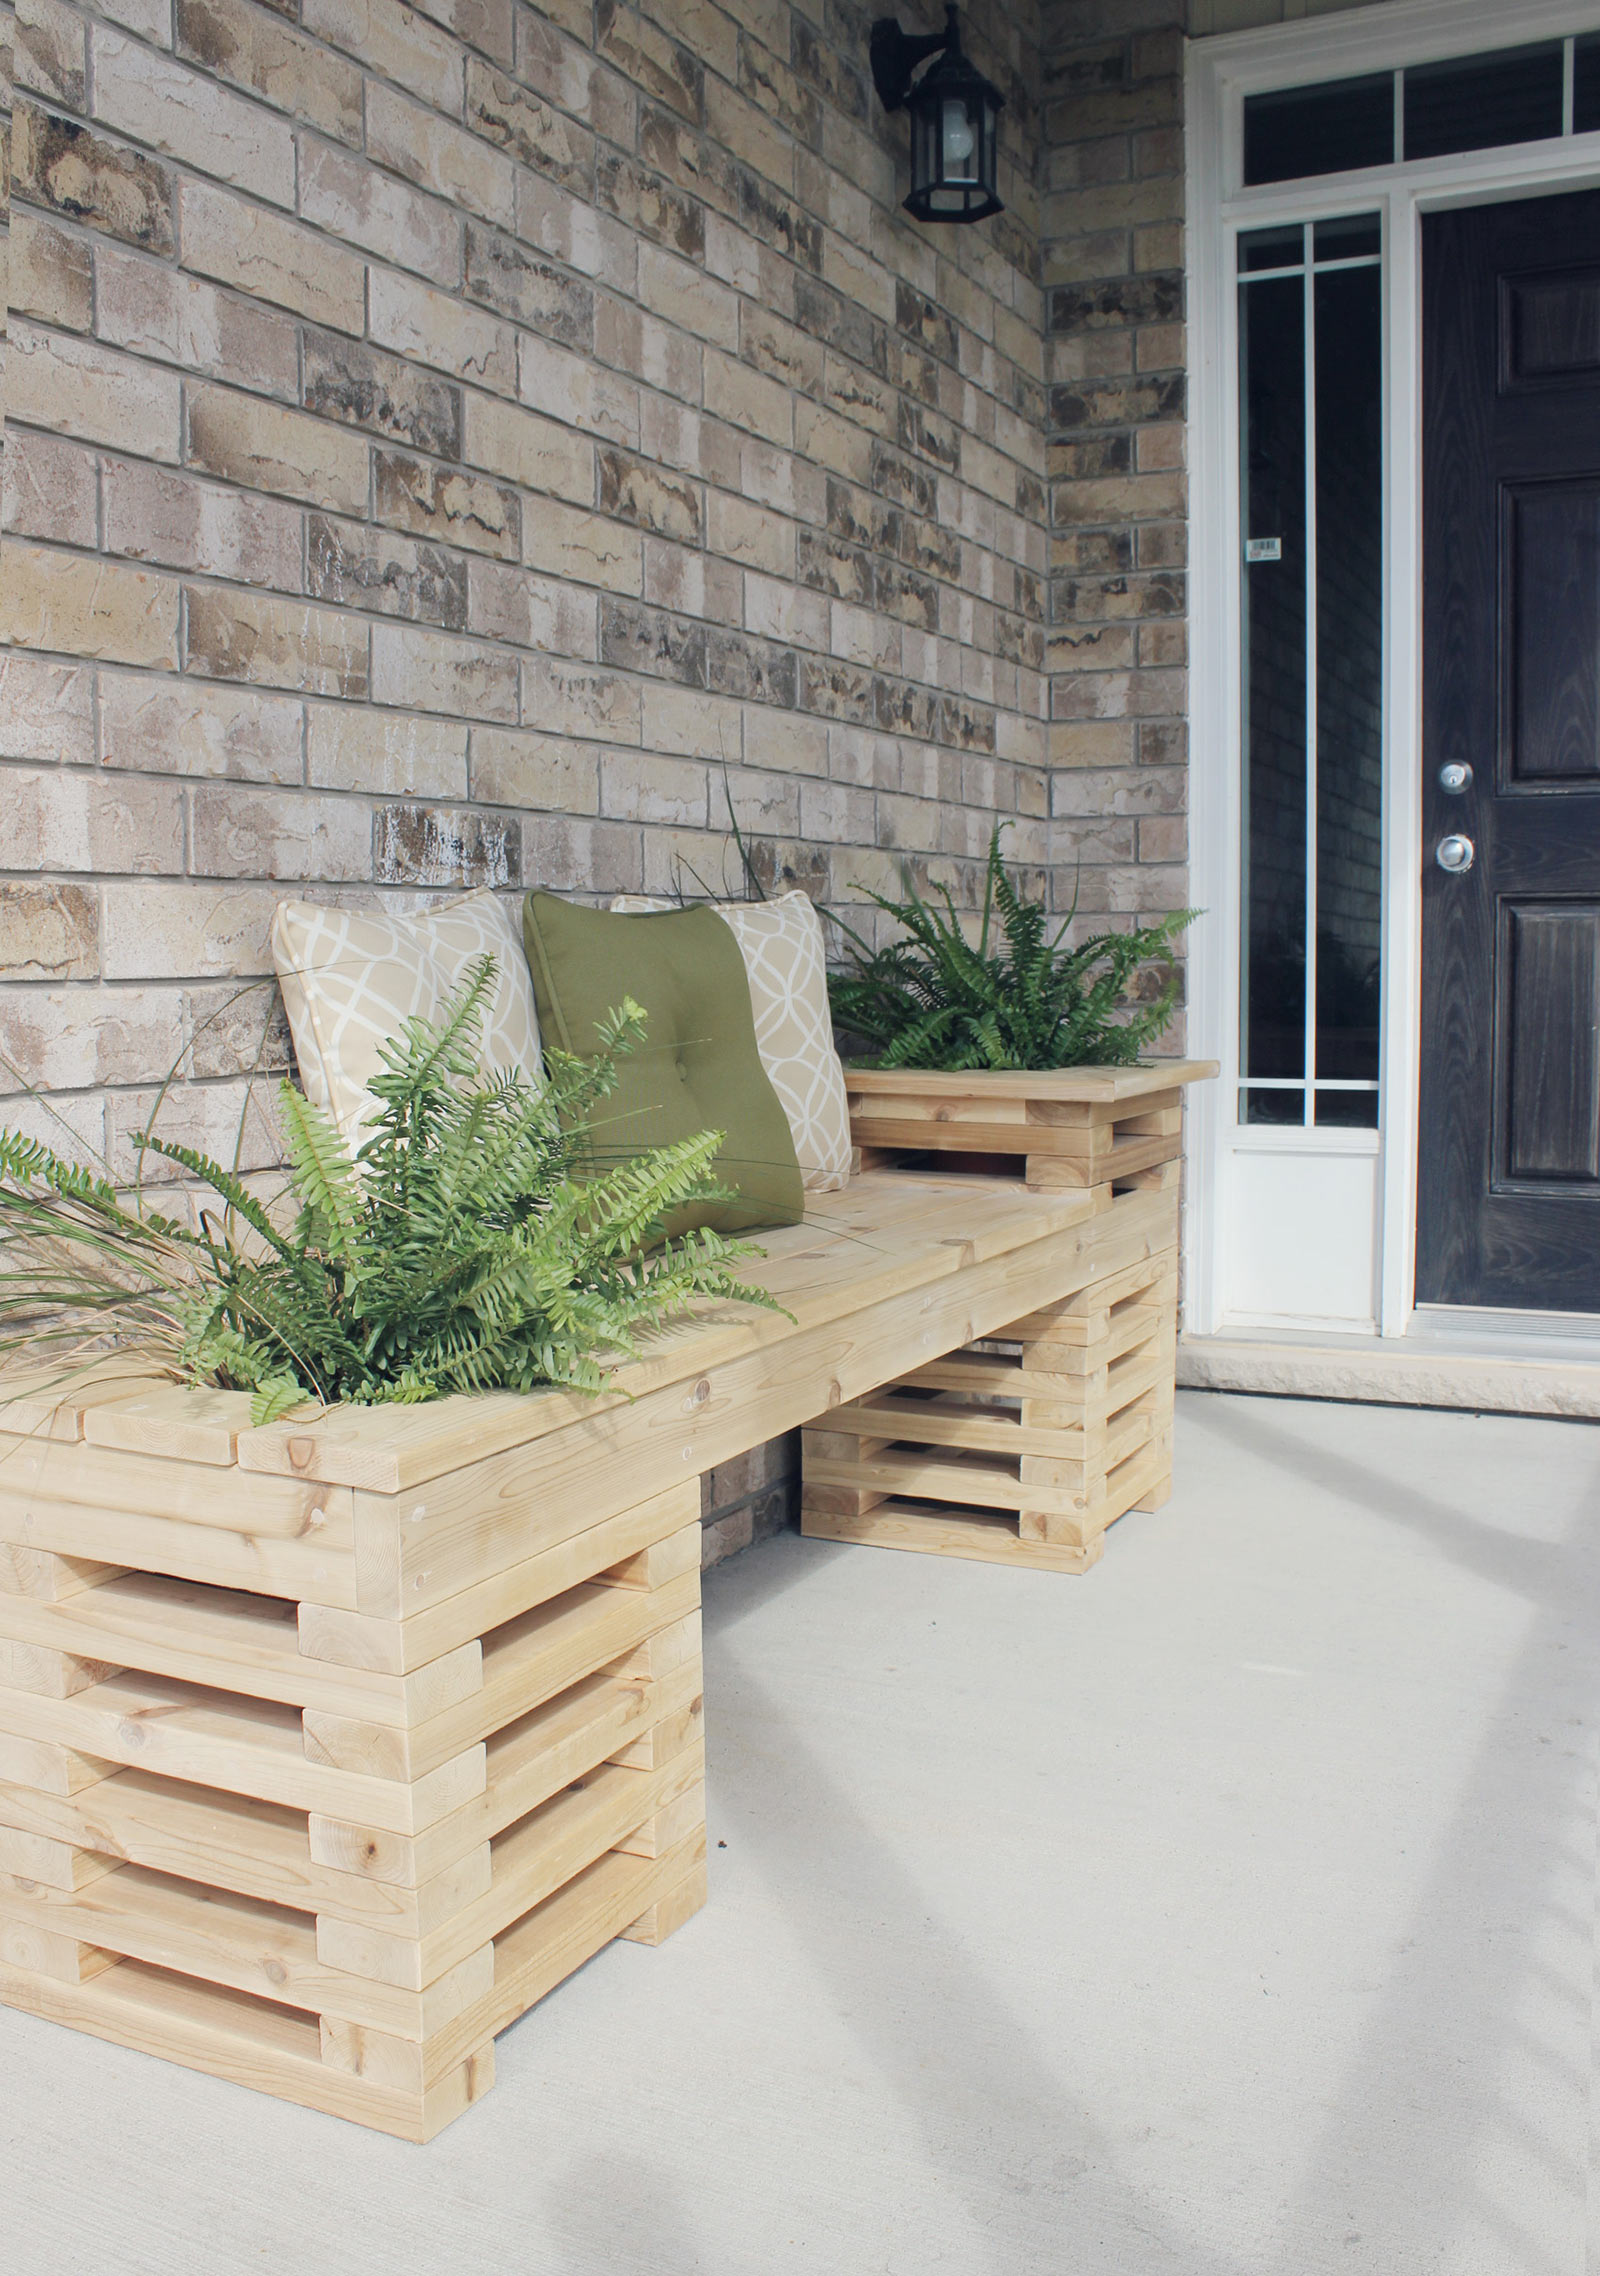
This all started with a desire not to be plain and boring, and as you would have seen in last week’s post, my awesome cedar bench turned out far from plain and boring. It was the exact statement piece I wanted for our front porch. But it didn’t come easily. There was some sweat, elbow grease, and maybe even a little blood put into this project.
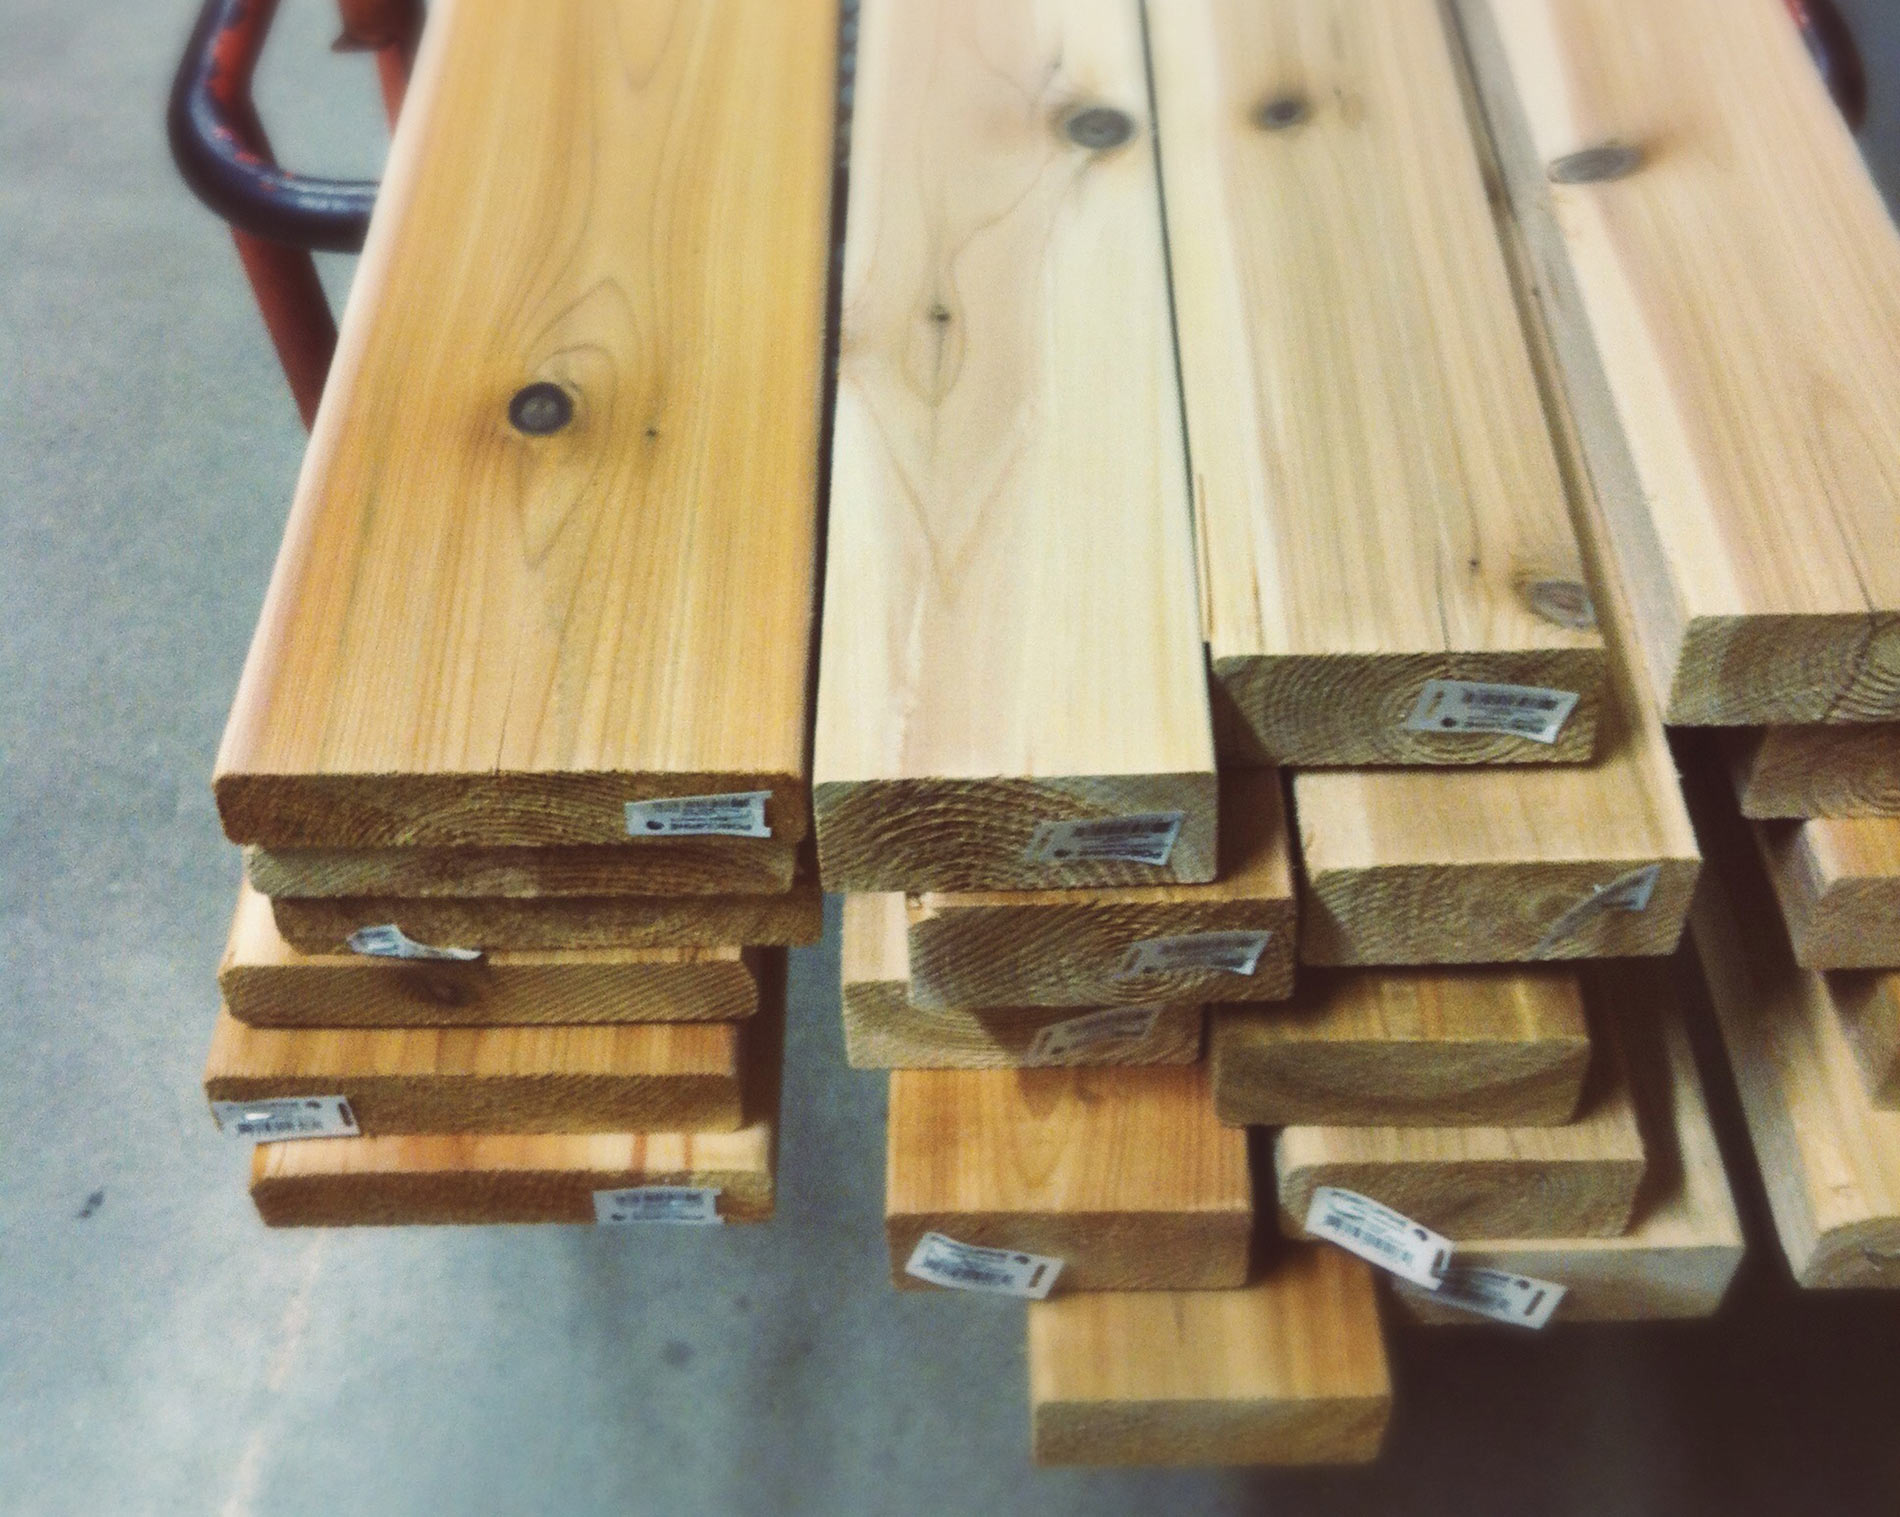
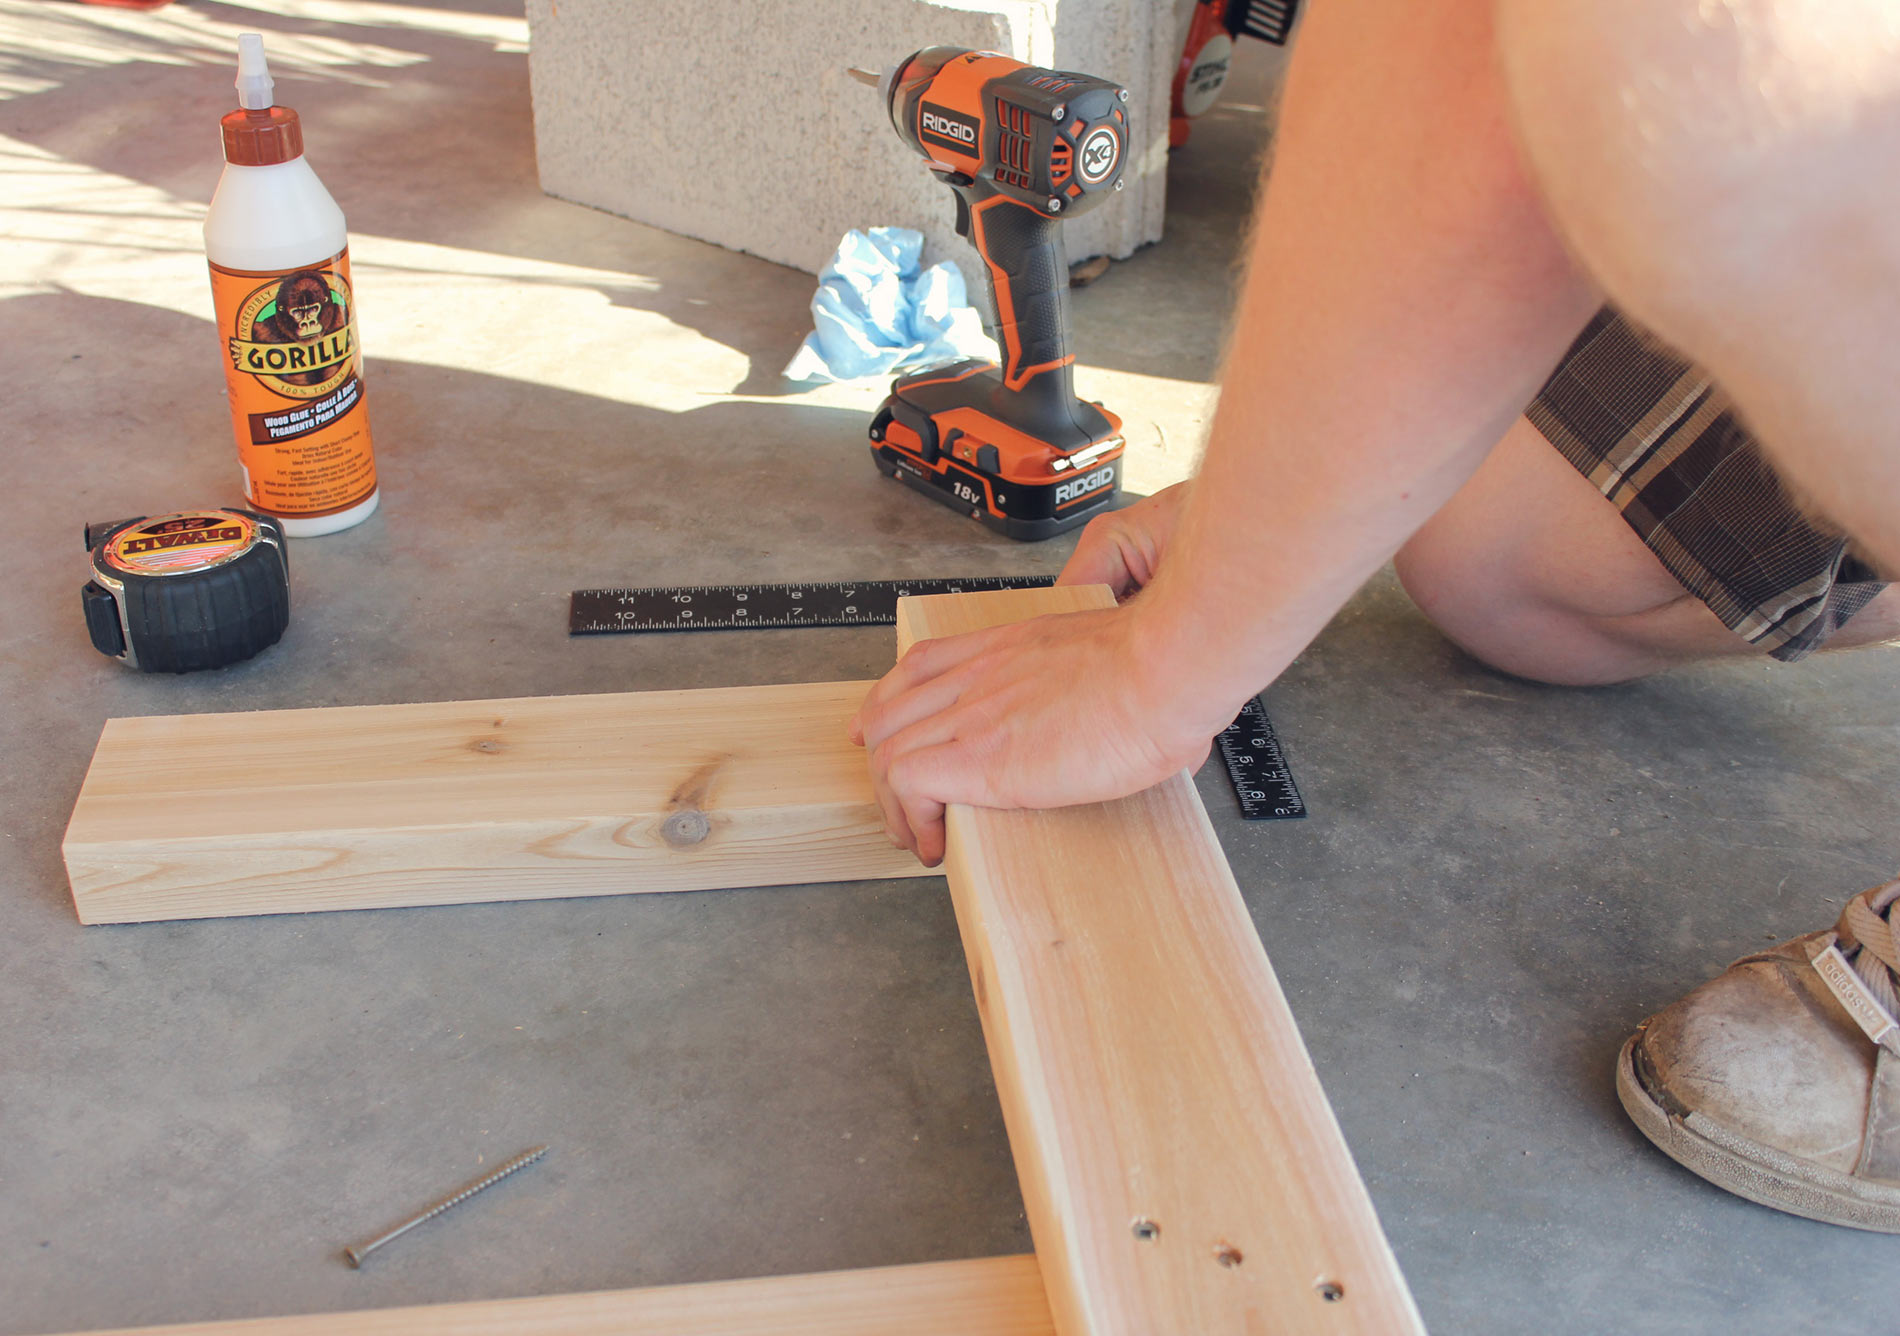
It all started the July long weekend. After weeks of researching, sketching, and planning we were ready to get down to business. I think we spent nearly 45 minutes picking out our cedar boards at The Home Depot. I wanted ones that had a beautiful grain, while “J” just wanted ones with no chipped edges. Yeah, we’re picky like that. We decided at that point not to get them cut in-store, but rather rent a Home Depot van to get them home. By the time we had shopped, shipped, unloaded, and returned I was itching to get started!
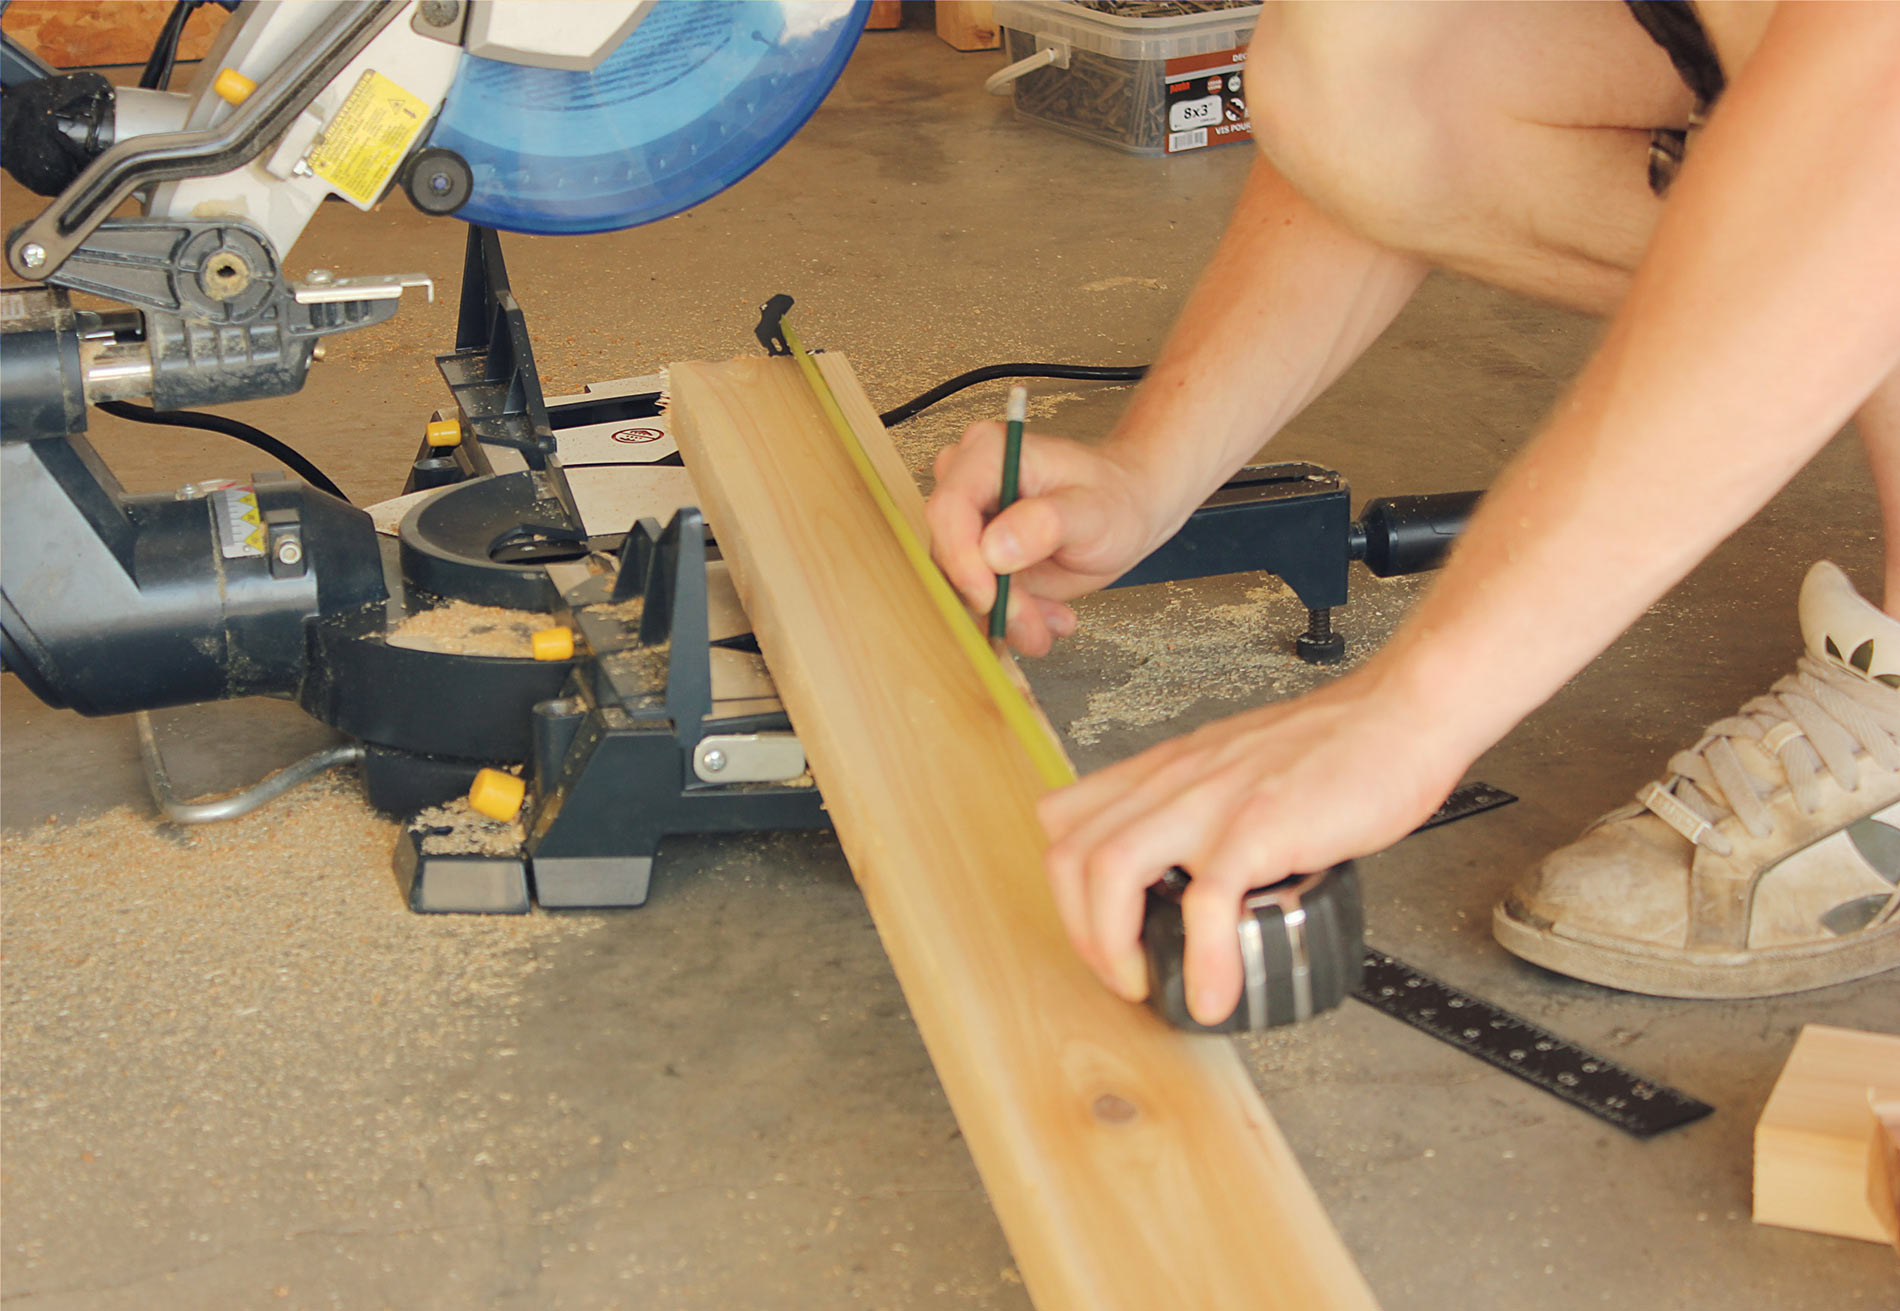
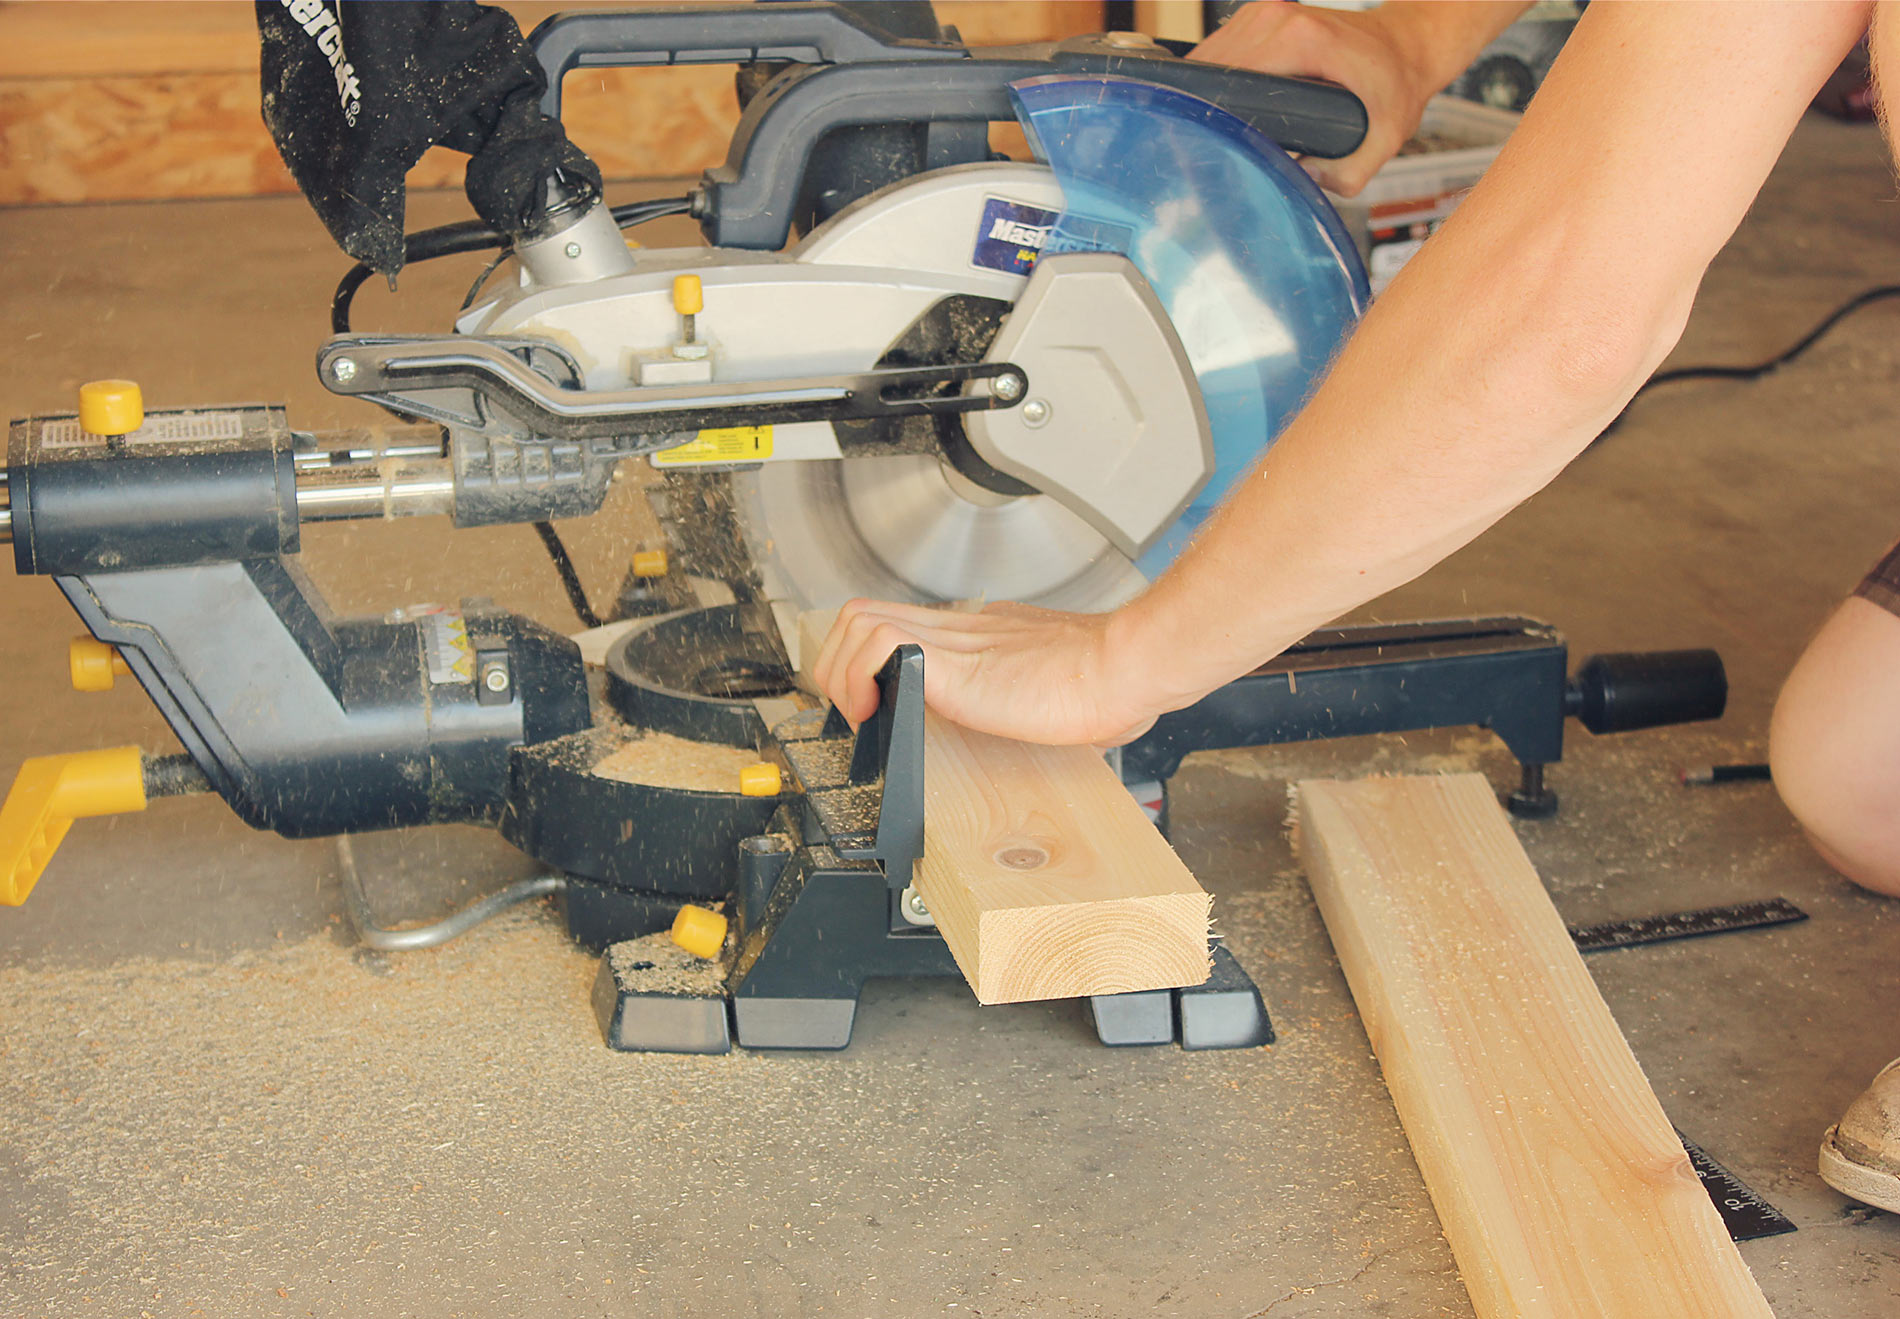
This was definitely one of those projects where you have to be ok doing a repetitive task. I have the attention span of a 3 year old, so four cuts into our 48 required cuts I was about ready to bail. Twenty cuts in and I was ready to unplug the saw. By the last cut I was a twitching. At that point I realized I had to sand all 48 of those suckers! (what had I gotten myself into?)
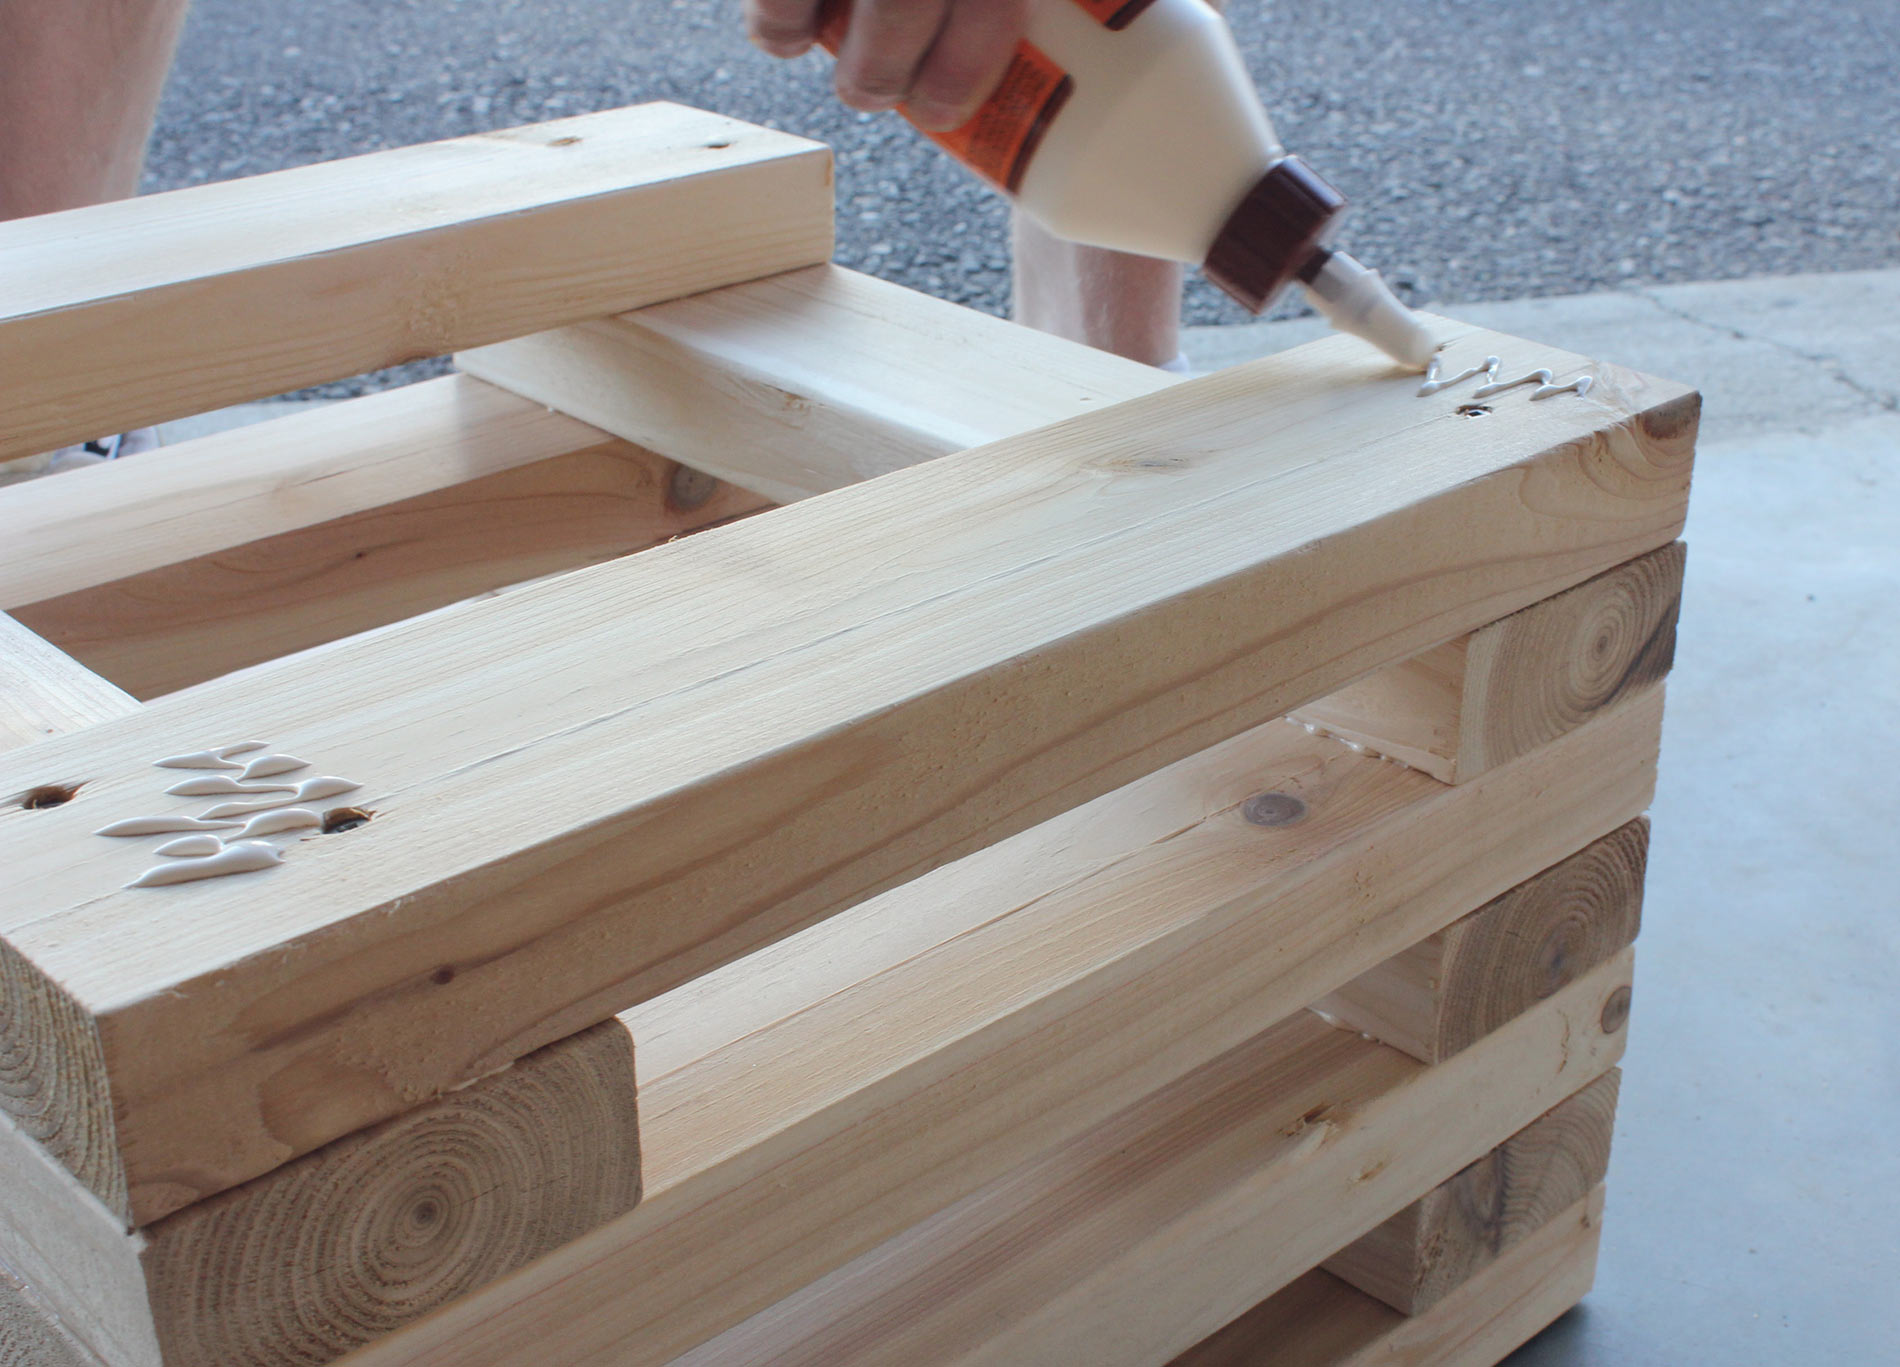
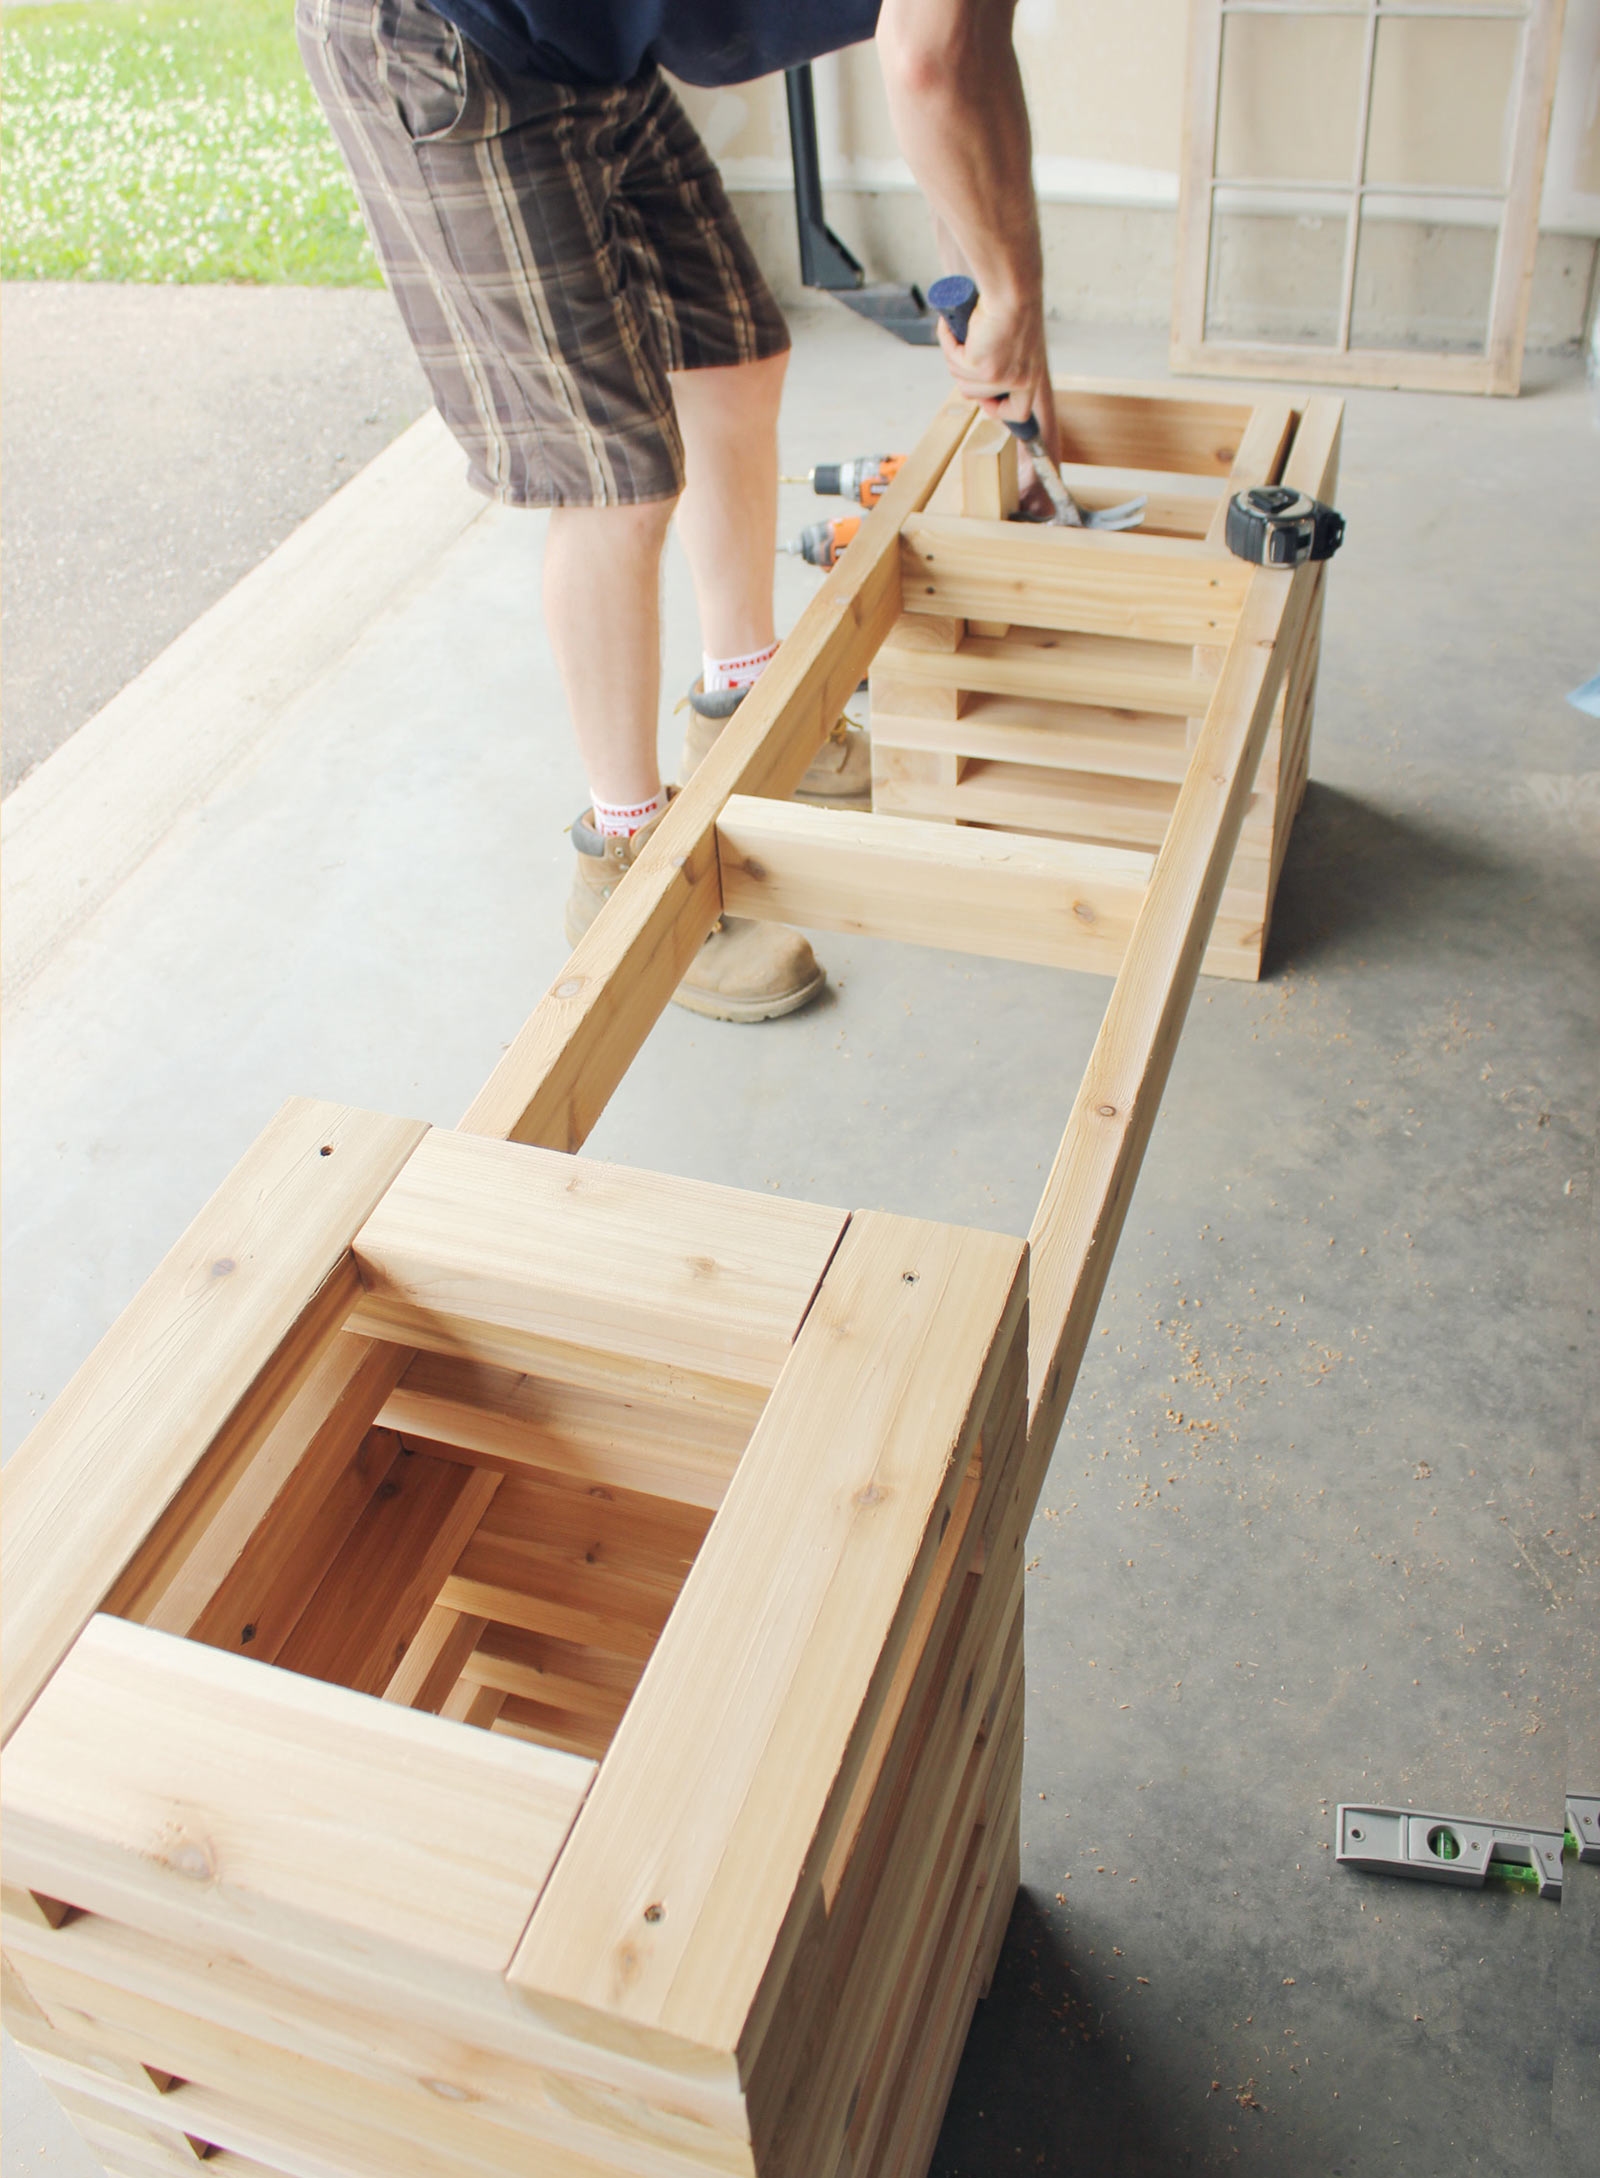
Then came the assembly. While I finished sanding all 48 pieces, “J” began assembling the planters. We decided on a modern looking planter (something that wasn’t too boxy), so we opted to stagger and alternate the boards. Down went the first two boards for the base. The next two boards were arranged on top, slathered with some Gorilla Glue, and then screwed in place. Again, a repetitive task.
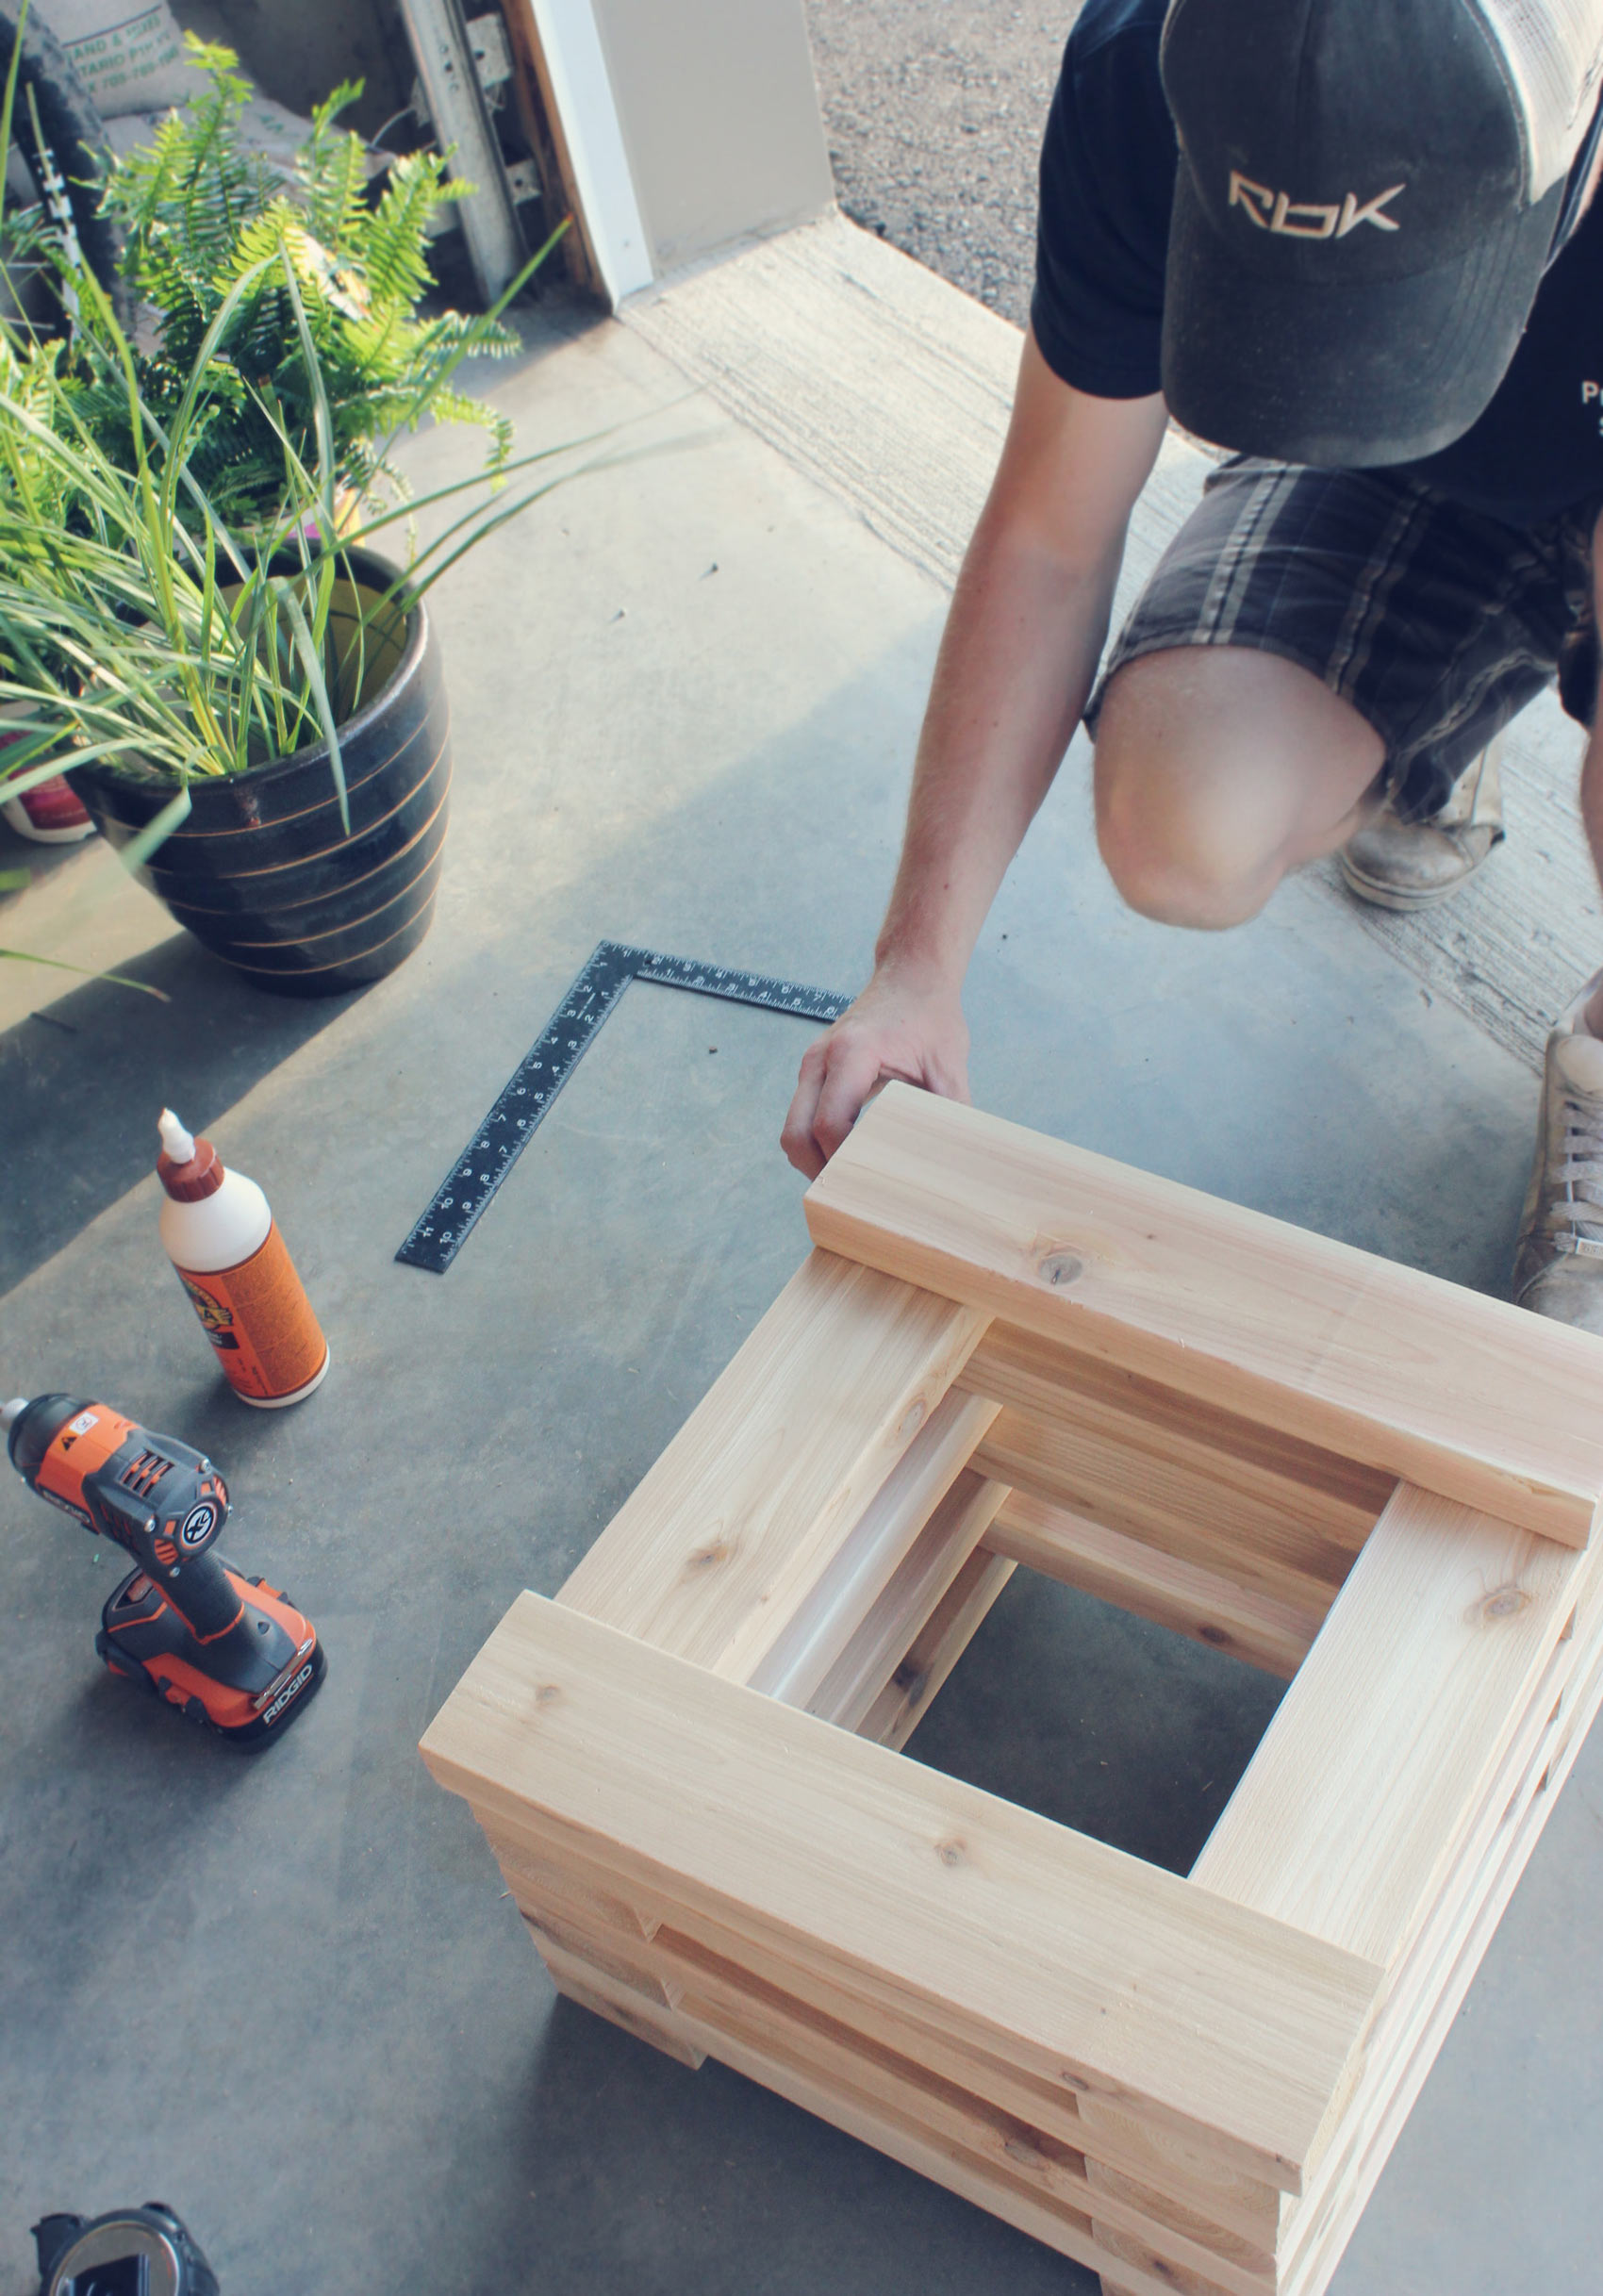
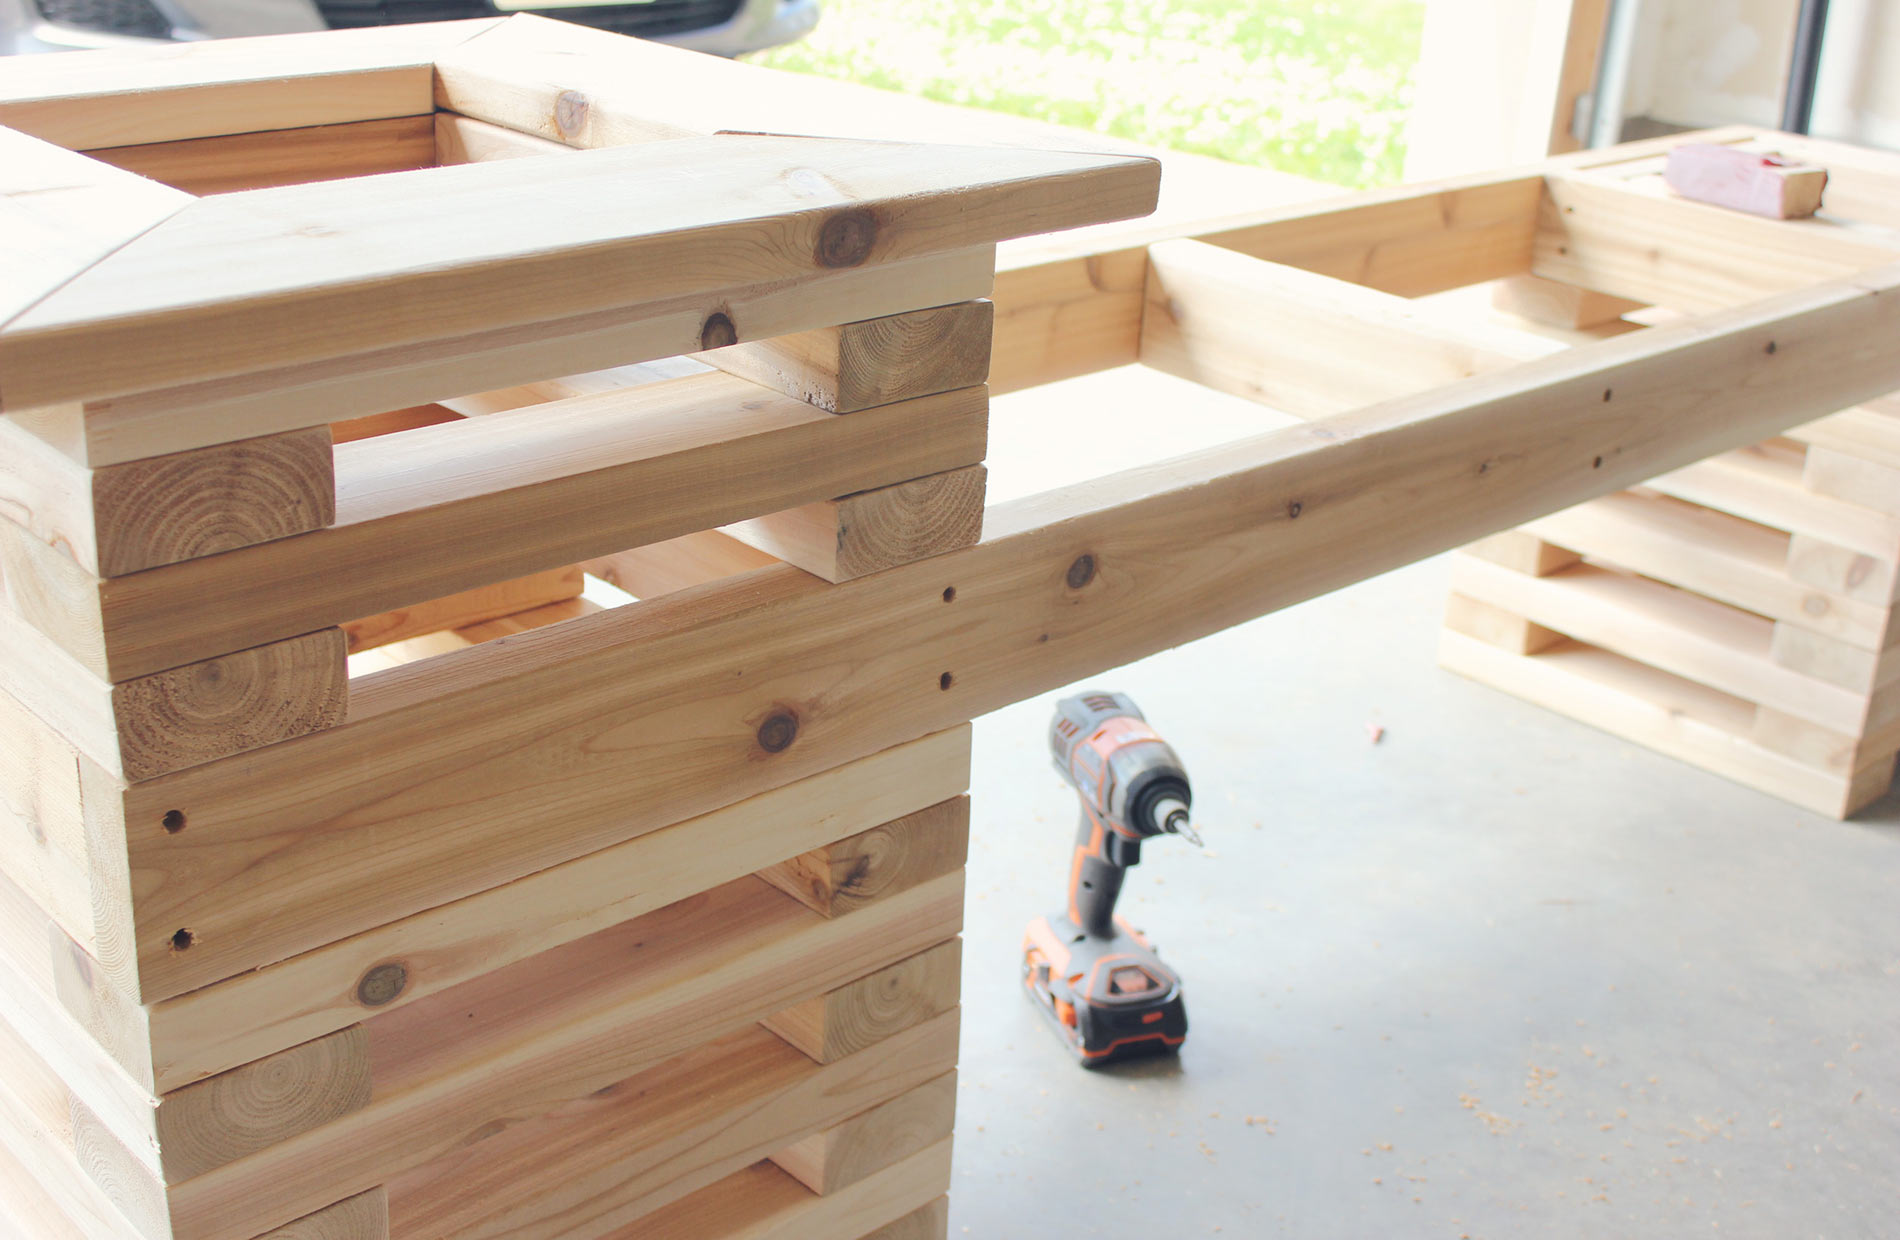
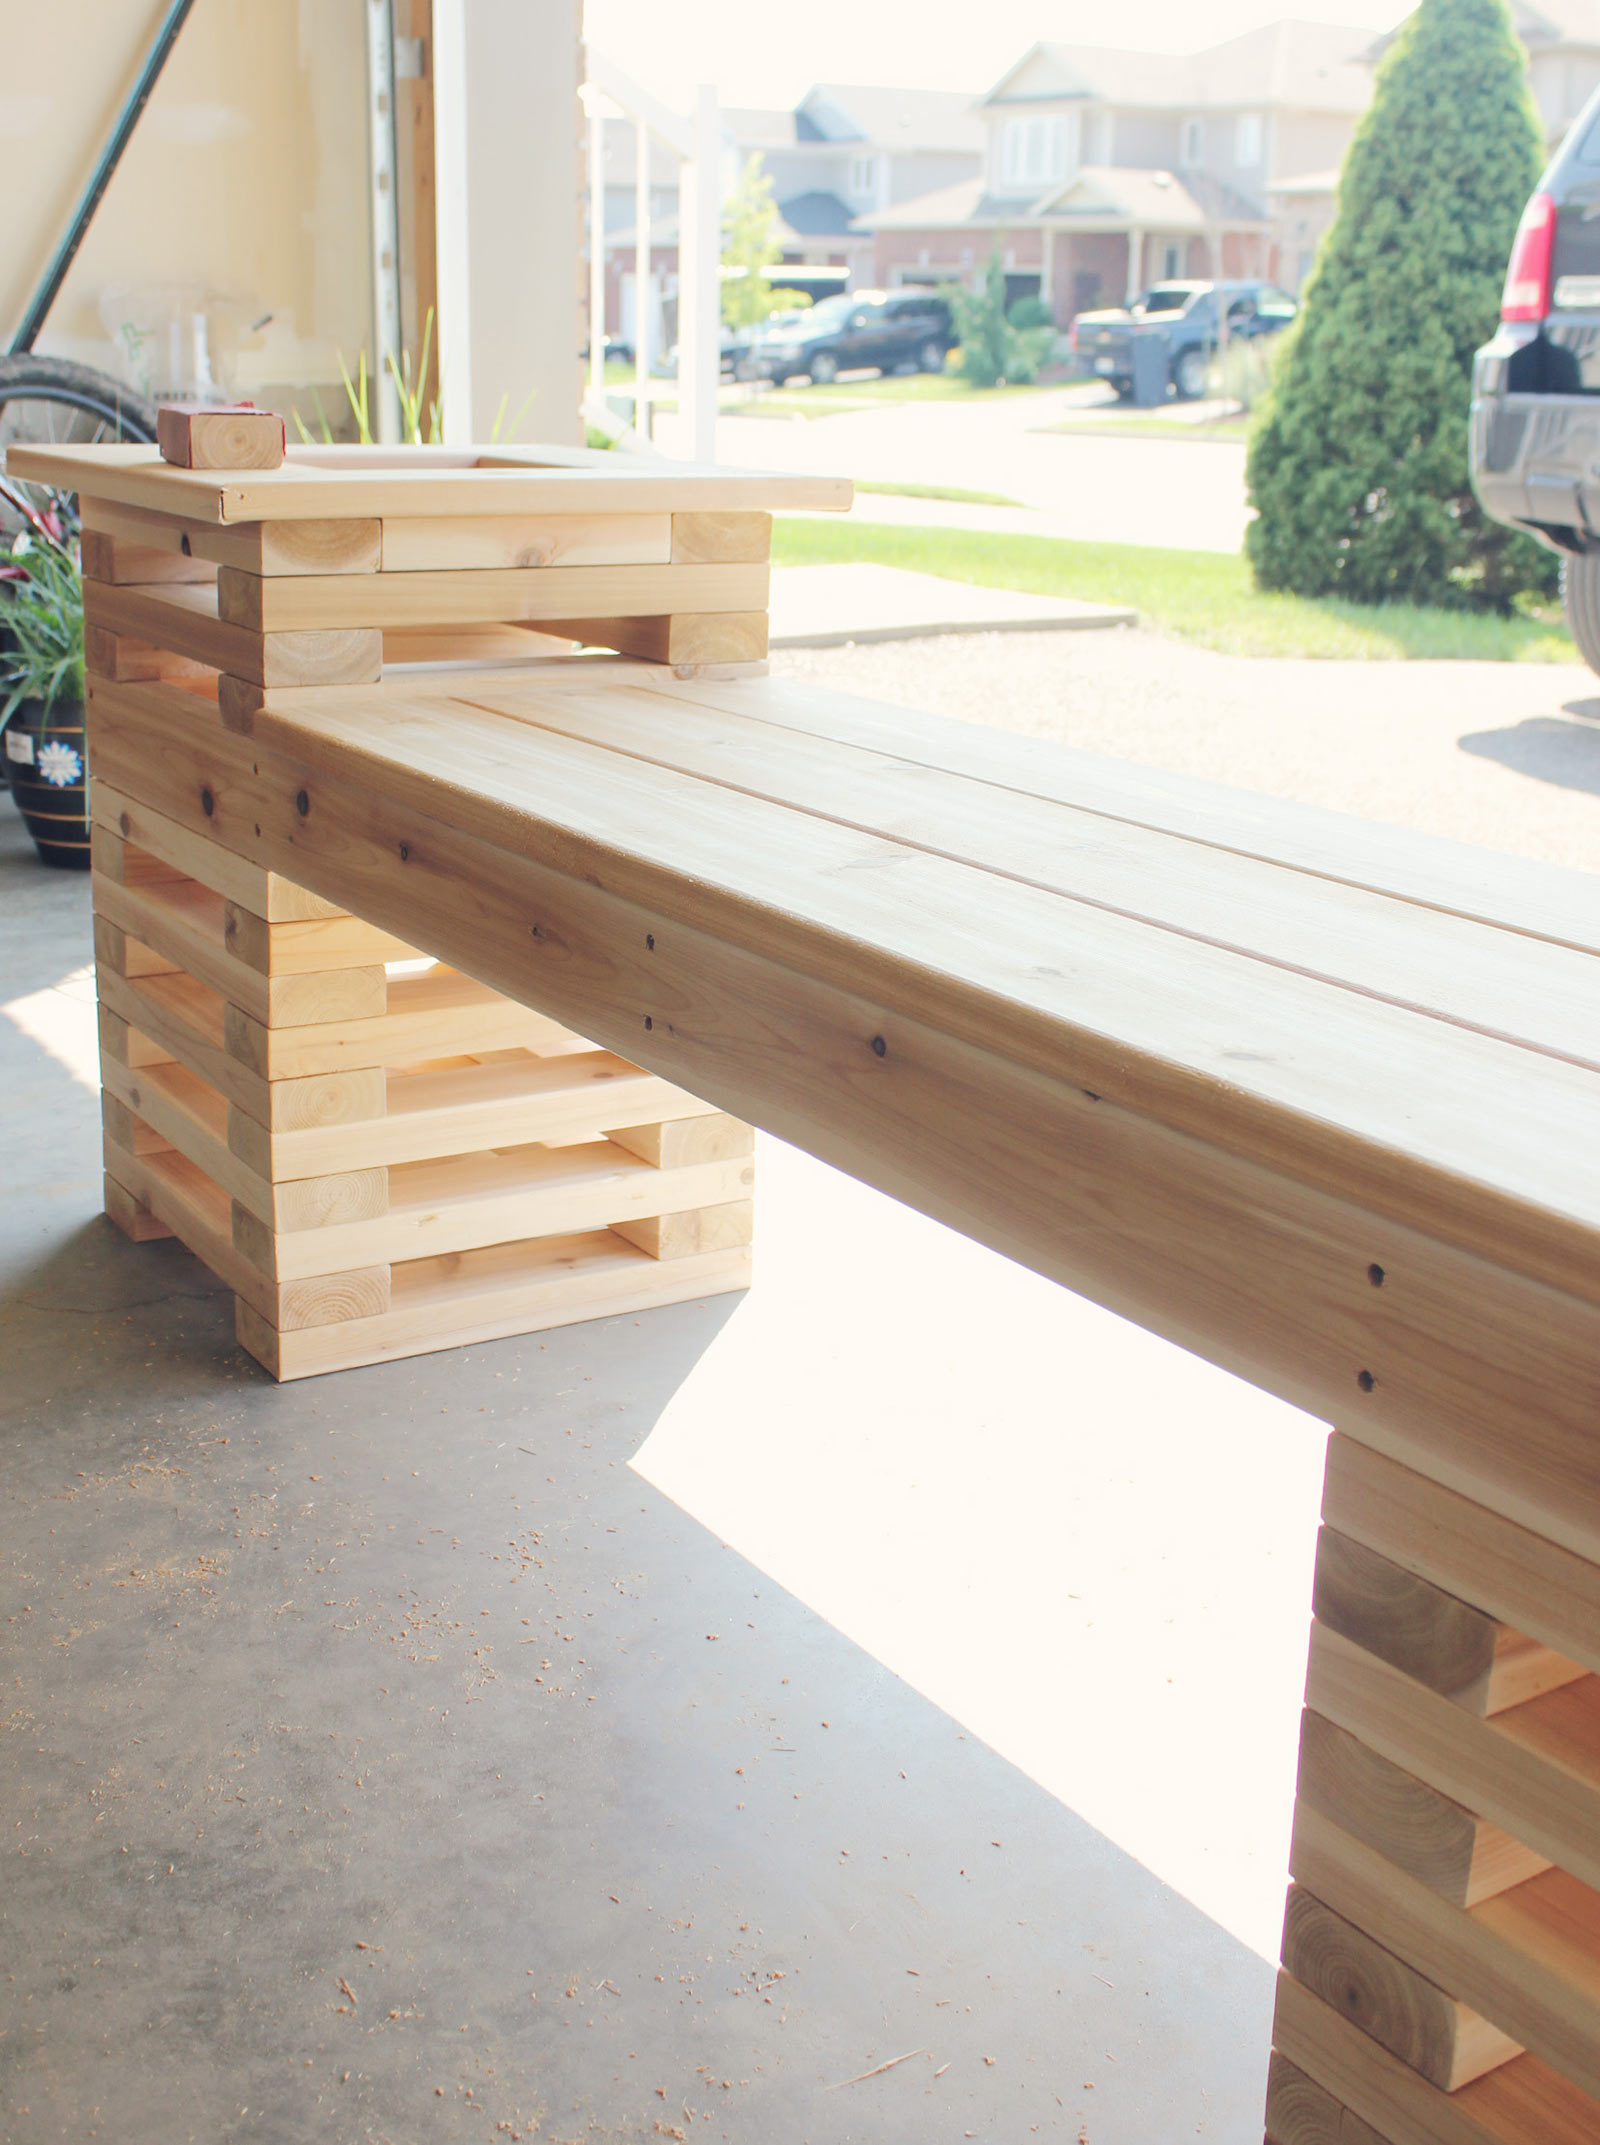
Once the planters were assembled (20 boards high each), “J” began to build the frame for the bench. With the frame built and securely attached to the two planters it was time to make a decision… Did we want an asymmetrical bench (like the one that originally inspired me), or bench that was flush all the way across? In most cases I would choose symmetry, however I wanted this to be a statement piece and have unique qualities…

So we added an additional 3 layers on the right-hand side creating a nice, raised planter. “J” even dressed it up with some perfectly cut cap pieces…
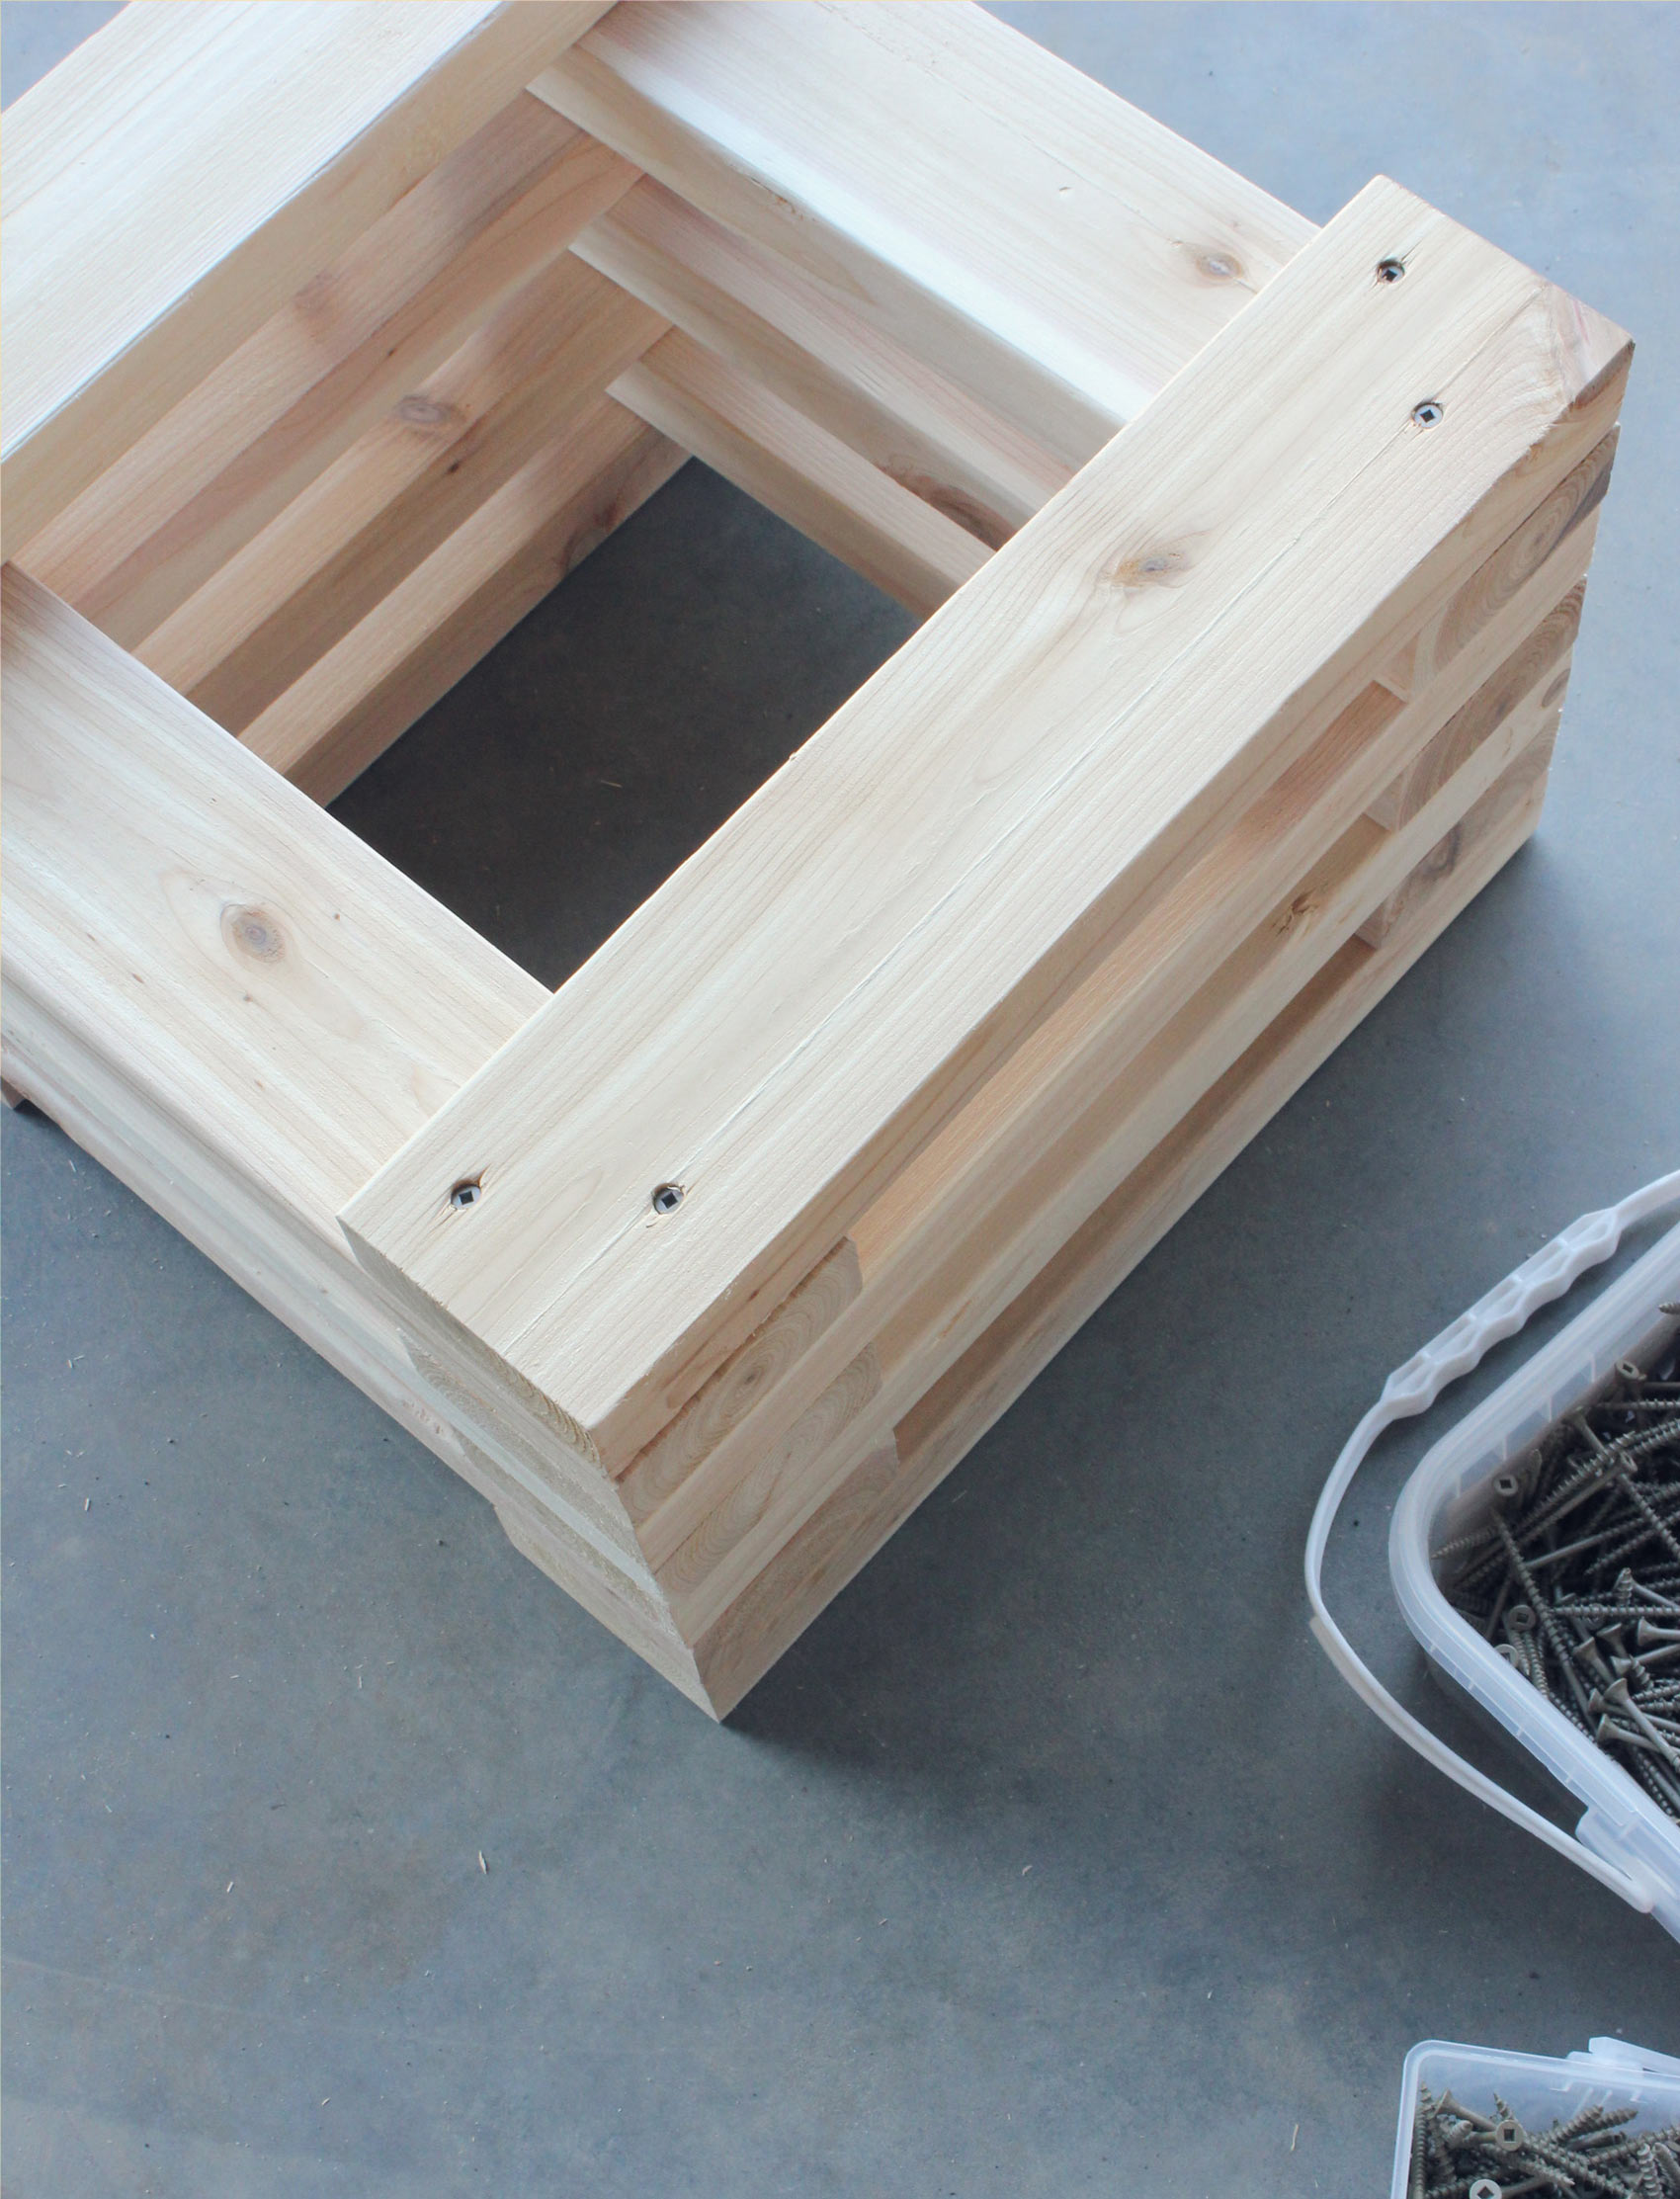
Once the build was complete I filled every single screw hole with wood fill, sanded the entire bench, and applied a coat of clear Varathane. As much as I love this bench, this is the point in the project when I swore I would never do this again. And then I had a celebratory beer.
// Project Breakdown \\
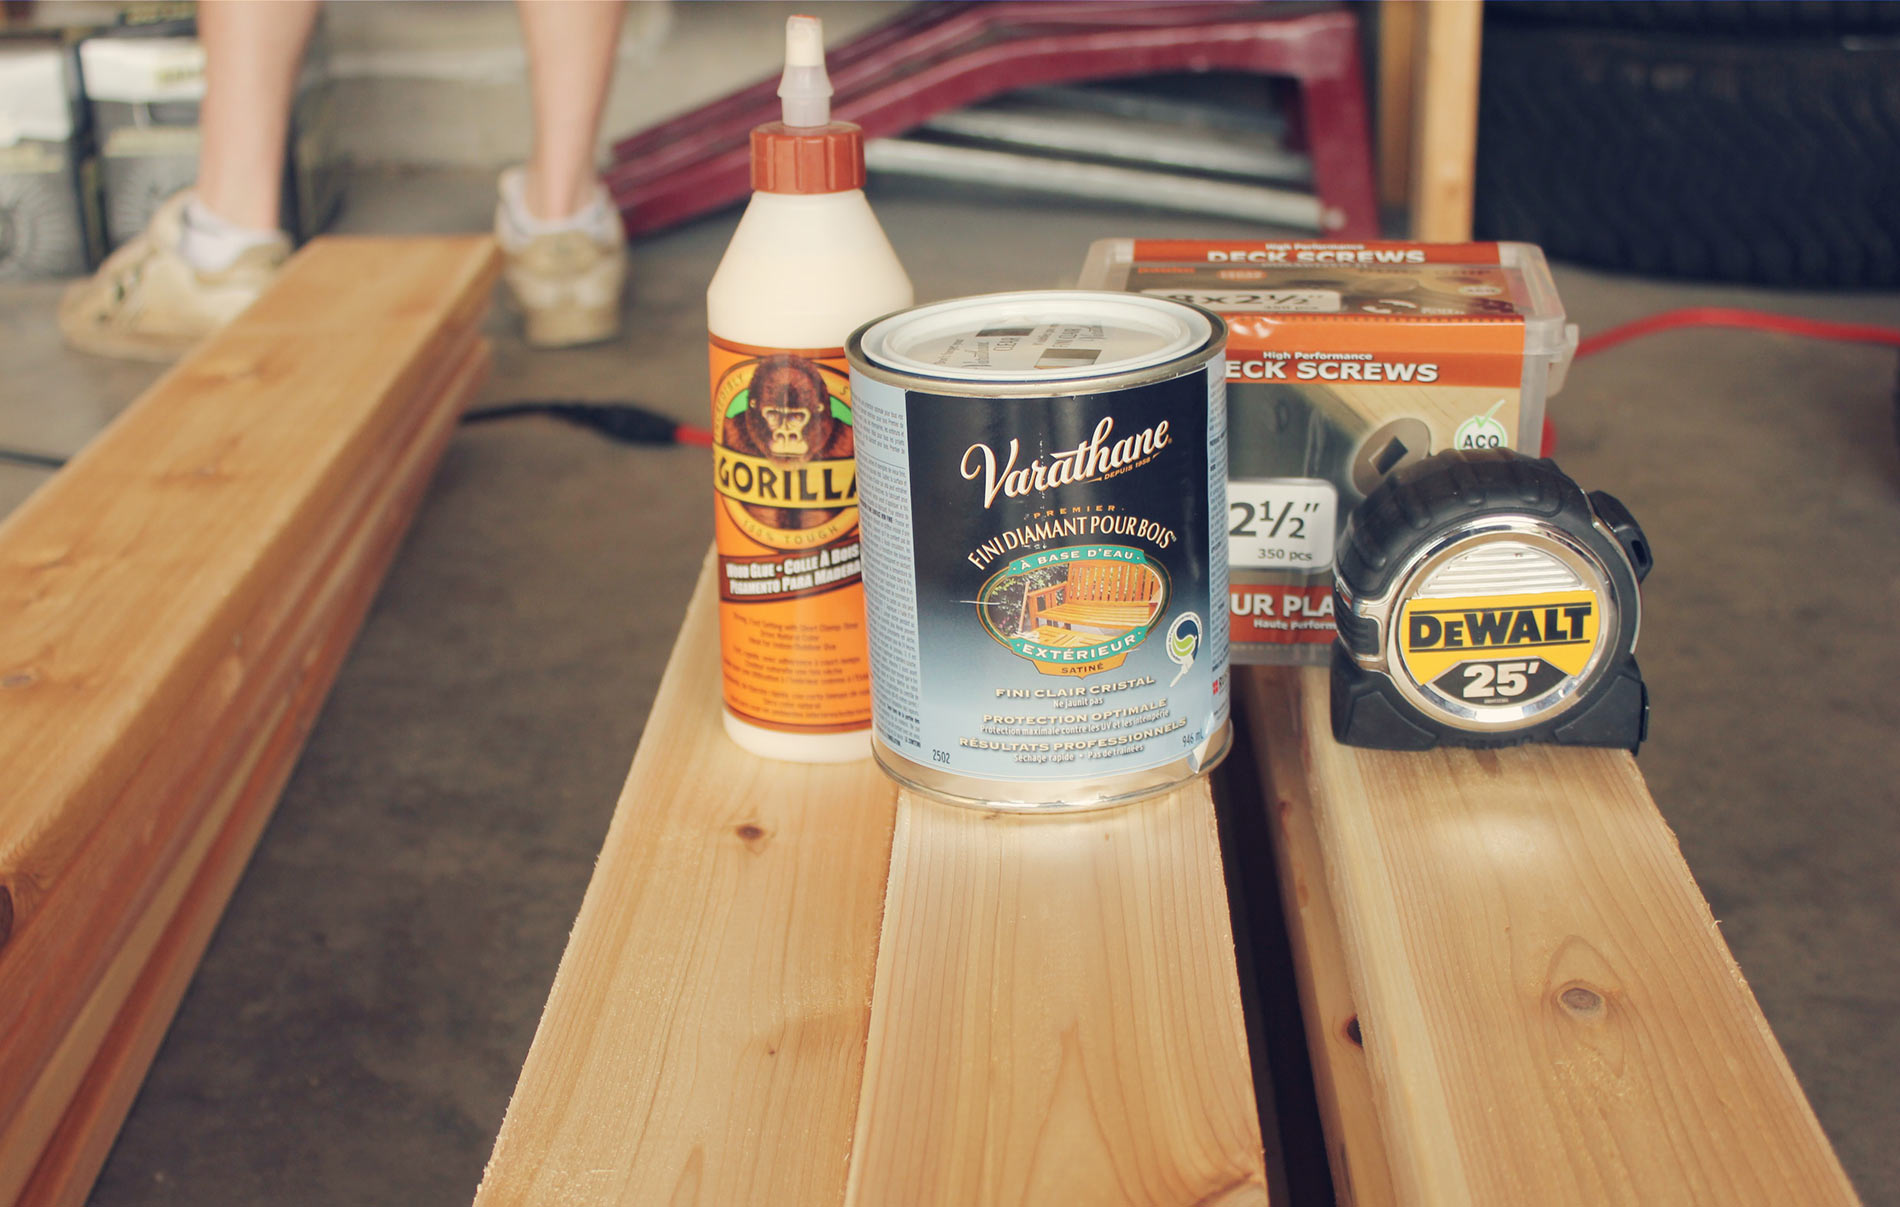
For those of you who are interested in the materials and cost breakdown of this project, you can find everything listed below. We choose to buy every thing new, so your total costs may vary based on what you already have on hand. Going with pine vs. cedar would also be a great option, and it would considerably lower the price of materials.
- 15 Cedar 2×4’s (8ft long)
- 6 Cedar 1×6’s (8ft long)
- Gorilla Glue
- Duragrip 8×2-1/2 Cedar Deck Screws
- Duragrip 8×3 Cedar Deck Screws
- 4 bags of Alexandria Moulding Hardwood 3/8 Birch Head Plugs
- 1 package Norton MultiSand 9 inch x11 inch Sanding Sheets Fine-150 grit
- Elmer’s Tinted Wood Filler Natural Tube
- Varathane Diamond Wood Finish – Outdoor (Water, Satin)
- Paint Brush
- 2 8inch diameter clay pots
- Ferns (or plants of your choice)
- Potting soil
- 3 decorative pillows
Total Project Cost $480.67
Click here to buy the project drawing & rending!
Looking for more summer DIY inspiration? Check out the other talented bloggers that took part in The Home Depot’s #SummerDIYChallenge:
- Janice from Life Begins At Thirty
- Jen from Rambling Renovators
- Shannon from AKA Designs
Disclosure: I was provided with a gift card from The Home Depot in order purchase supplies to complete the Summer DIY Challenge.


Do you have any dimensions you could add? Like overall length, the width & depth of the planters? I would love to make one but just can't figure these things out.
Want to make this but I think I'll recycle pallets for the wood to keep the cost down. Great job
Great thinking Amanda! Good luck with your project!
This looks BEAUTIFUL!
Are the pots suspended by the edge of the planter
or do you have something under them to get them off the ground?
Great question Darla! We secured a 2×4 in place on the inside of the planter so the planter sits on top of that. We did have a larger pot that was suspended by the edges of the planter, however we thought it looked better having the planter "invisible."
Hi Britt,
I recently purchased Project drawing and rending as well. my question is your cut list says 5/4″x6 – 56 1/4″ = 3 nos (cut list item 4). but it closed the second tower (small tower), how did you open second tower planter box area from the top. You diagram shows the planter box area. did you cut it. Please let me know
Gorgeous and it looks pretty painless to build [I'm sure I'll eat my words]. I just love this and you've inspired me to make one.
Hey! I was wondering what length to cut the 2x4s? The ones you stack 🙂 and also, how do you make the bench part?
Hi Tara, thanks for stopping by! The 2×4's on this bench were cut to 15 inches. As for specific directions on how to build the bench, I do not have them at the moment. I am working on a engineered drawing for download, and it should be available in the coming weeks! Cheers!
This is a very impressive piece. What's your climate like? I'm in Ireland, and not sure it would survive the weather too long. Will study the drawings when available.
Hi Alan, thanks for you kind words. The climate here in Ontario, Canada is pretty much a muck of everything – humidity, rain, really hot, really cold. We have a saying here: just wait 10 minutes. Sometimes you can experience, what feels like, all our seasons in one day.
That said, I have had the bench out on our front porch for almost a year now – through sun, wind, rain, and a very cold winter, and it has done just fine. Cedar tends to stand up to weather better! Stay tuned for the drawings!
Working on the 3D, Sketchup design right now, putting the seat area at 48 inches wide for maximum seating potential. Give me a day or so to fix some things I will post a link then.
Do you have the specific dimensions or engineering drawing? I would love to make this over the weekend
You said the 2×4s are 15 inches but if the boards on top are the 1×6s then they would need to be 18 inches not 15
We can't figure out how to attach the bench to the two stands. Bought the blueprints but they were of no help.
Hi Darrell, I'm sorry you didn't find the rending + materials list helpful. I'd like to help you as much a possible get your bench built to your satisfaction. The two stands were attached to the horizontal bench frame with screws on the inside of the frame in a slanted fashion. This is known as toenailing. It also keeps the screws hidden. 6-8 screws were used (toenailed) to attach the frame to the towers. Hope that helps clarify! If you need anything else please let me know!
I just started this today and hope to finish tomorrow. How did you do the cut out at the top where the shorter planter and the bench meet?
Hi Adam! Thanks for so much for downloading the plans for the bench! The planter hole on the short side of the bench was easy to cut out. Simply stage the boards as though you are attaching them and using a square tool draw a square that will accommodate a planter. Remove each board and using a jigsaw cut out the square. The middle board will obviously need to be cut right out, while the two side boards will require more of a notch type cut. When you stage the bench boards on top you'll be able to clearly see the planter hole. At this time I advise you try inserting your planter to make sure the hole is large enough. If not, take the time to make more cuts, shaving off an inch or so as necessary. Once your are satisfied, attach the boards to the frame with screws. I hope that answers your question and doesn't seem too overly complicated. It's actually quite simple! Let me know if you need any more guidance!!! Good luck tomorrow!
Ah. That explains it! Thanks. I'm new to this, but it is quickly becoming my new obsession. One more question: how deep did you place the boards that the planters rest upon (#7 and #8) and how were they fastened?
We just finished our bench inspired by your blog. We stained it dark and added lighting. Also made it into an L shape to fit as a corner bench. Would love to send you pictures. Thanks for the inspiration!
making this! love your blog 🙂
This is a great design! Gonna build mine out of treated lumber. Thanks you for this because I have looking for a design for my deck bench and this will be perfect!
Would it be possible to get the drawing for this? I looked for it but didn’t find anywhere to download it.
Thank You
A copy of the engineer prints you mentioned would be great. Where can I get them?
Thank you
Hi AJ, you can find the rendering and drawing for this project here: https://brittanystager.com/cedar-planter-bench-drawing-and-rendering/
Hey there,
We run a weekly home inspiration blog and this week we are writing about DIY outdoor seating.
We absolutely love your cedar bench article, and were wondering we could possibly use the finished photo of the chair as the social media feature image for our blog? We will tag you on all posts 😊
Hi there April! Apologies for the late reply! I see you already featured my bench in your blog post. Thank you for providing a link back to my blog! If you end up using the photo on social media please feel free to tag me!
Hello! I am really excited to make this! I just tried to buy the project drawing and rendering and it said the link is not available. Are you still making this available for purchase? Thank you! 🙂
Thanks for the inquiry Stacia, you should be able to purchase the project drawing and rendering here: https://brittanystager.com/cedar-planter-bench-drawing-and-rendering/. Let me know if you have any questions!
Hi Britt!
Hello from NYC! I just finished my own. Made it from cedar and followed your exact plan. Looks great in front of our row house. Thanks for giving me a fun project to spend a few weekends on.
—Peter
So happy to hear that Peter! I’m glad everything worked out well and you have a new homemade piece to be proud of! I’d love to see a photo if you’d like to share! 🙂
In the drawings you have, what are #7 & #8 for? I can’t figure out where they go lol.
Hi David, items #7 and #8 are pieces that are inserted down into the center of each of the towers to act as a “shelf” of sorts for any planters to rest on. The planters that we picked out for this bench were smaller than the diameter of the opening of the towers so we had to put a 1×6 inside so they had something to sit on. Hope that makes sense!